
Federated Cross-Account Access to WorkSpaces applications Using IAM Identity Center and Entra ID
Learn how to enable cross-account access to AWS WorkSpaces Applications using IAM Identity Center and Microsoft Entra ID. This article covers configuring SAML federation in a central account, establishing IAM trust in a workload account, setting up cross-account attribute mappings, and validating the streaming session — with reference architecture and workflow diagrams.


Authors :
Shantanu Padhye : Sr SA Agentic WorkSpaces
Introduction :
Customers running AWS Organizations often centralize identity management in a single account using AWS IAM Identity Center (IDC). When Microsoft Entra ID serves as the external identity provider with SAML and SCIM, users get seamless single sign-on to AWS resources.
But what happens when the WorkSpaces Applications stacks live in a different AWS account? This article walks through a tested, end-to-end configuration that lets users authenticate through IAM IDC in a central account and stream applications from a secondary account — all without duplicating identity infrastructure.
Architecture Overview
The solution spans two AWS accounts:
- Account A (Central / Management) — Hosts the organization-level IAM Identity Center instance with Microsoft Entra ID configured as the external identity provider and SCIM provisioning enabled.
- Account B (Workload / Secondary) — Hosts the WorkSpaces Applications fleet, stack, and associated resources (images, VPC, etc.).
Prerequisites :
- AWS Organizations with IAM Identity Center enabled in the management (or delegated admin) account.
- Microsoft Entra ID configured as the external identity provider with SCIM provisioning enabled.
- A WorkSpaces Applications stack already created in Account B (the secondary account).
The authentication flow works as follows:
- A user navigates to the IAM IDC access portal (e.g.,
https://d-a267f9af02.awsapps.com/start).
- IAM IDC redirects to Microsoft Entra ID for authentication.
- After successful sign-in, the user sees the assigned WorkSpaces Applications tile.
- Clicking the tile triggers a SAML assertion that includes the cross-account IAM Role ARN and Identity Provider ARN from Account B.
- AWS STS in Account B validates the assertion, assumes the role, and redirects the user to the WorkSpaces Applications stack via the relay state URL.
- The streaming session starts.

Step-by-Step Configuration :
Step 1 — Configure IAM Identity Center with Microsoft Entra ID (Account A)
Set up IAM Identity Center in your central account with Entra ID as the external identity provider. Enable SCIM provisioning so users and groups sync automatically. If you've already completed this, move to the next step.
For detailed guidance, see Configure SAML and SCIM with Microsoft Entra ID and IAM Identity Center .
Step 2 — Add a WorkSpaces Applications SAML Application in IAM IDC (Account A)
In the IAM Identity Center console :
- Navigate to Applications → Add application.
- Select I want to select an application from the catalog and search for Amazon WorkSpaces Applications.
- Choose Next and configure the application.
Under Application properties, configure:
- Relay state:
https://appstream2.euc-sso.<REGION>.aws.amazon.com/saml?stack=<STACK_NAME>&accountId=<ACCOUNT_B_ID>
- Replace
<REGION>with the AWS Region where your stack resides (e.g.,us-east-1).
- Replace
<STACK_NAME>with the exact name of your WorkSpaces Applications stack in Account B.
- Replace
<ACCOUNT_B_ID>with the 12-digit AWS account ID of Account B (no hyphens).
- Session duration: 1 hour (or your preferred value).
Under Application metadata, select Manually type your metadata values and enter:
- Application ACS URL:
https://signin.aws.amazon.com/saml
- Application SAML audience:
urn:amazon:webservices
Step 3 — Download the IAM IDC SAML Metadata (Account A)
On the application configuration page, locate the IAM Identity Center metadata section. Download the IAM Identity Center SAML metadata file. You'll upload this file in Account B to establish the trust relationship.
Tip: You can also copy the metadata URL directly if your IAM provider creation workflow supports URL-based import.
Step 4 — Create a SAML Identity Provider in IAM (Account B)
Sign in to Account B and navigate to the IAM console:
- Go to Identity providers → Add provider.
- Select SAML as the provider type.
- Give the provider a descriptive name (e.g.,
IAMIdentityCenter-AccountA).
- Upload the SAML metadata file you downloaded in Step 3.
- Choose Add provider and note the Provider ARN.
Step 5 — Create an IAM Role for SAML Federation (Account B)
Create a SAML 2.0 federation IAM role in Account B:
- In the IAM console, choose Roles → Create role.
- Select SAML 2.0 federation as the trusted entity type.
- Choose the SAML provider you created in Step 4.
- For Attribute, select
SAML:sub_type. For Value, enterpersistent.
- Complete the role creation wizard and give it a descriptive name (e.g.,
entra_cross_account_role).
Trust policy should look like this:
Plain text
{"Version": "2012-10-17","Statement": [{"Effect": "Allow","Principal": {"Federated": "arn:aws:iam::<ACCOUNT_B_ID>:saml-provider/IAMIdentityCenter-AccountA"},"Action": ["sts:AssumeRoleWithSAML","sts:TagSession"],"Condition": {"StringEquals": {"SAML:sub_type": "persistent"}}}]}
For detailed steps, see Create a SAML 2.0 Federation IAM Role . Step 6 — Attach an Inline Policy to the IAM Role (Account B)
Add an inline policy that grants the
appstream:Stream permission to the WorkSpaces Applications stack:Plain text
{"Version": "2012-10-17","Statement": [{"Effect": "Allow","Action": "appstream:Stream","Resource": "arn:aws:appstream:<REGION>:<ACCOUNT_B_ID>:stack/<STACK_NAME>","Condition": {"StringEquals": {"appstream:userId": "${saml:sub}"}}}]}
Replace
<REGION> , <ACCOUNT_B_ID> , and <STACK_NAME> with your actual values. The stack name is case-sensitive.Step 7 — Note the IAM Role ARN and Identity Provider ARN (Account B)
Record both ARNs — you'll need them for the attribute mapping in the next step:
- IAM Role ARN:
arn:aws:iam::<ACCOUNT_B_ID>:role/entra_cross_account_role
- SAML Provider ARN:
arn:aws:iam::<ACCOUNT_B_ID>:saml-provider/IAMIdentityCenter-AccountA
Also verify that the relay state URL in Step 2 points to the correct region and stack. Step 8 — Configure Attribute Mappings in the IAM IDC Application (Account A)
Return to Account A and open the WorkSpaces Applications SAML application in IAM Identity Center. Navigate to Actions → Edit attribute mappings and configure the following :

Important: TheRoleattribute value is a comma-separated pair of the IAM Role ARN and the SAML Provider ARN — both from Account B. There must be no spaces around the comma.
Choose Save changes.
Step 9 — Assign Users or Groups to the Application (Account A)
In the IAM Identity Center console, open the WorkSpaces Applications application and assign it to the appropriate users or groups that were provisioned via SCIM from Entra ID.
Step 10 — Test the Configuration
- Navigate to the IAM IDC access portal URL (e.g.,
https://d-ab67f9bf02.awsapps.com/start).
- Sign in with your Microsoft Entra ID credentials.
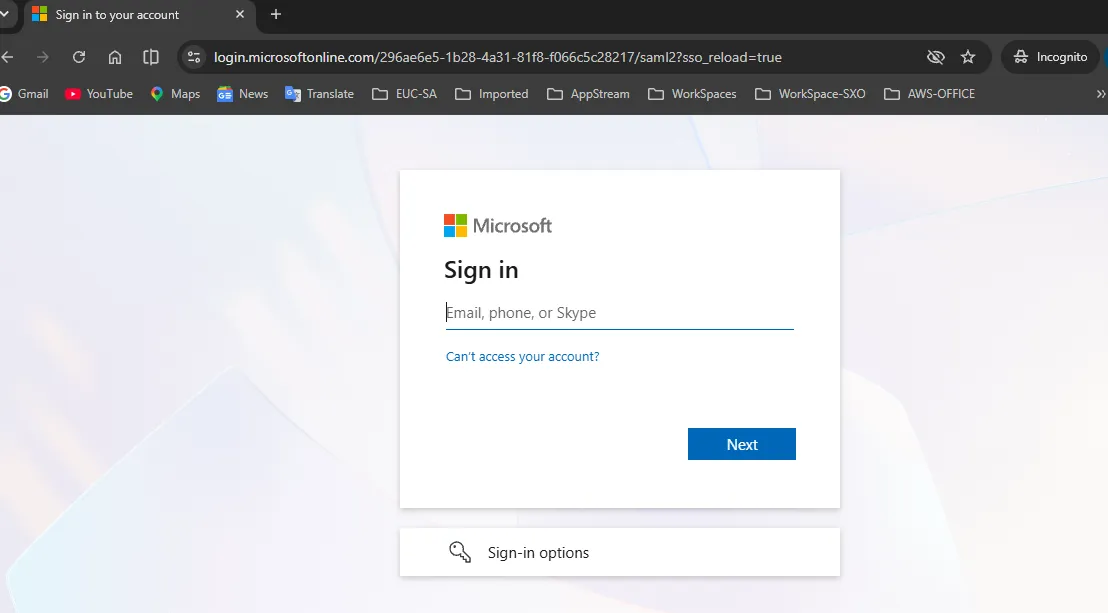
- Click the Applications tab.
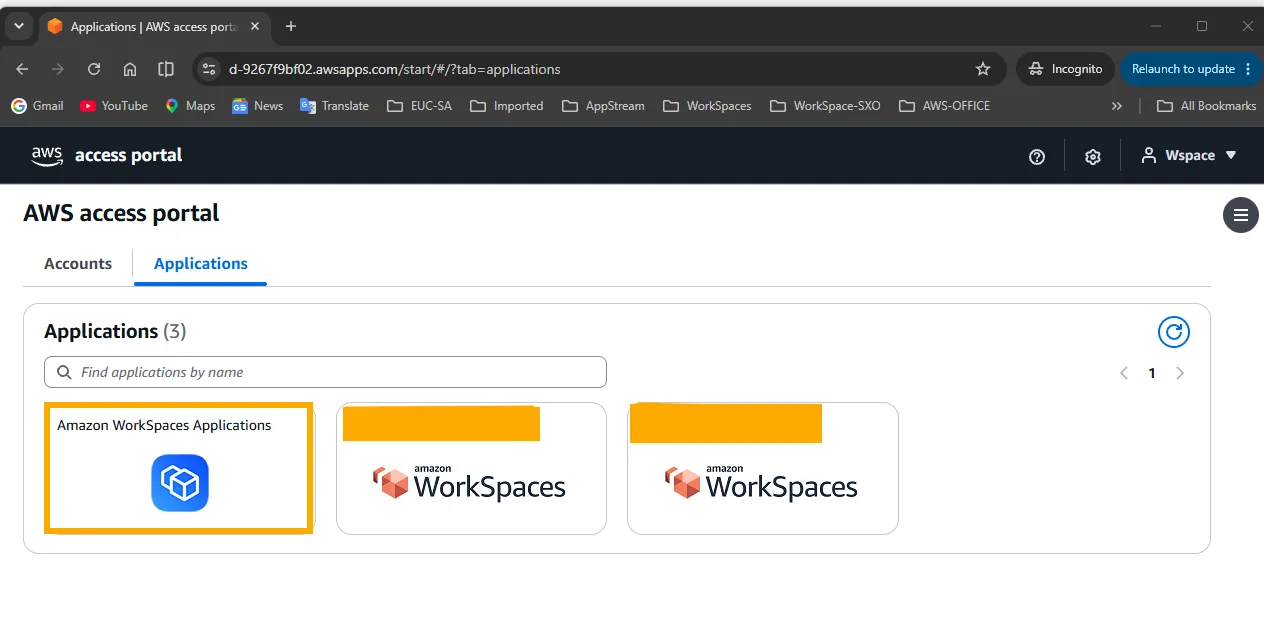
- Select the Amazon WorkSpaces Applications tile.
- You should be redirected to the WorkSpaces Applications stack in Account B and the streaming session should start.

Key Considerations
- Relay state region endpoints — Use the recommended
euc-ssorelay state endpoints (e.g.,https://appstream2.euc-sso.us-east-1.aws.amazon.com/saml). These support the WorkSpaces Applications client application and allow users to sign into other AWS applications in different browser tabs without disconnecting the streaming session.
- Subject format — The Subject NameID format must be set to
persistent. This is required for the SAML federation to work correctly with WorkSpaces Applications.
- Stack name case sensitivity — The stack name in the relay state URL and the inline policy must match the exact case and spelling as shown in the WorkSpaces Applications console.
- Session duration — The default session duration is 1 hour. You can adjust this in the application properties. If you don't specify the
SessionDurationattribute, it defaults to 60 minutes.
- Multiple stacks — If you need to provide access to multiple stacks, you can use attribute-based application entitlements. Remove the
stackparameter from the relay state URL and set the inline policy resource toarn:aws:appstream:<REGION>:<ACCOUNT_B_ID>:stack/*.
- SCIM sync — Ensure that the users and groups you assign to the application in IAM IDC are properly synced from Entra ID via SCIM provisioning.
Conclusion
This cross-account pattern keeps identity management centralized in a single account while letting workload teams own their WorkSpaces Applications resources independently. The SAML trust chain — Entra ID → IAM Identity Center → IAM Identity Provider (Account B) → IAM Role (Account B) — gives you clean separation of duties without sacrificing the single sign-on experience your users expect.
References
Enjoyed reading this content? Let the author know!
Your likes, comments, shares, and saves help creators reach more builders.

Loading recommendations
Loading article