
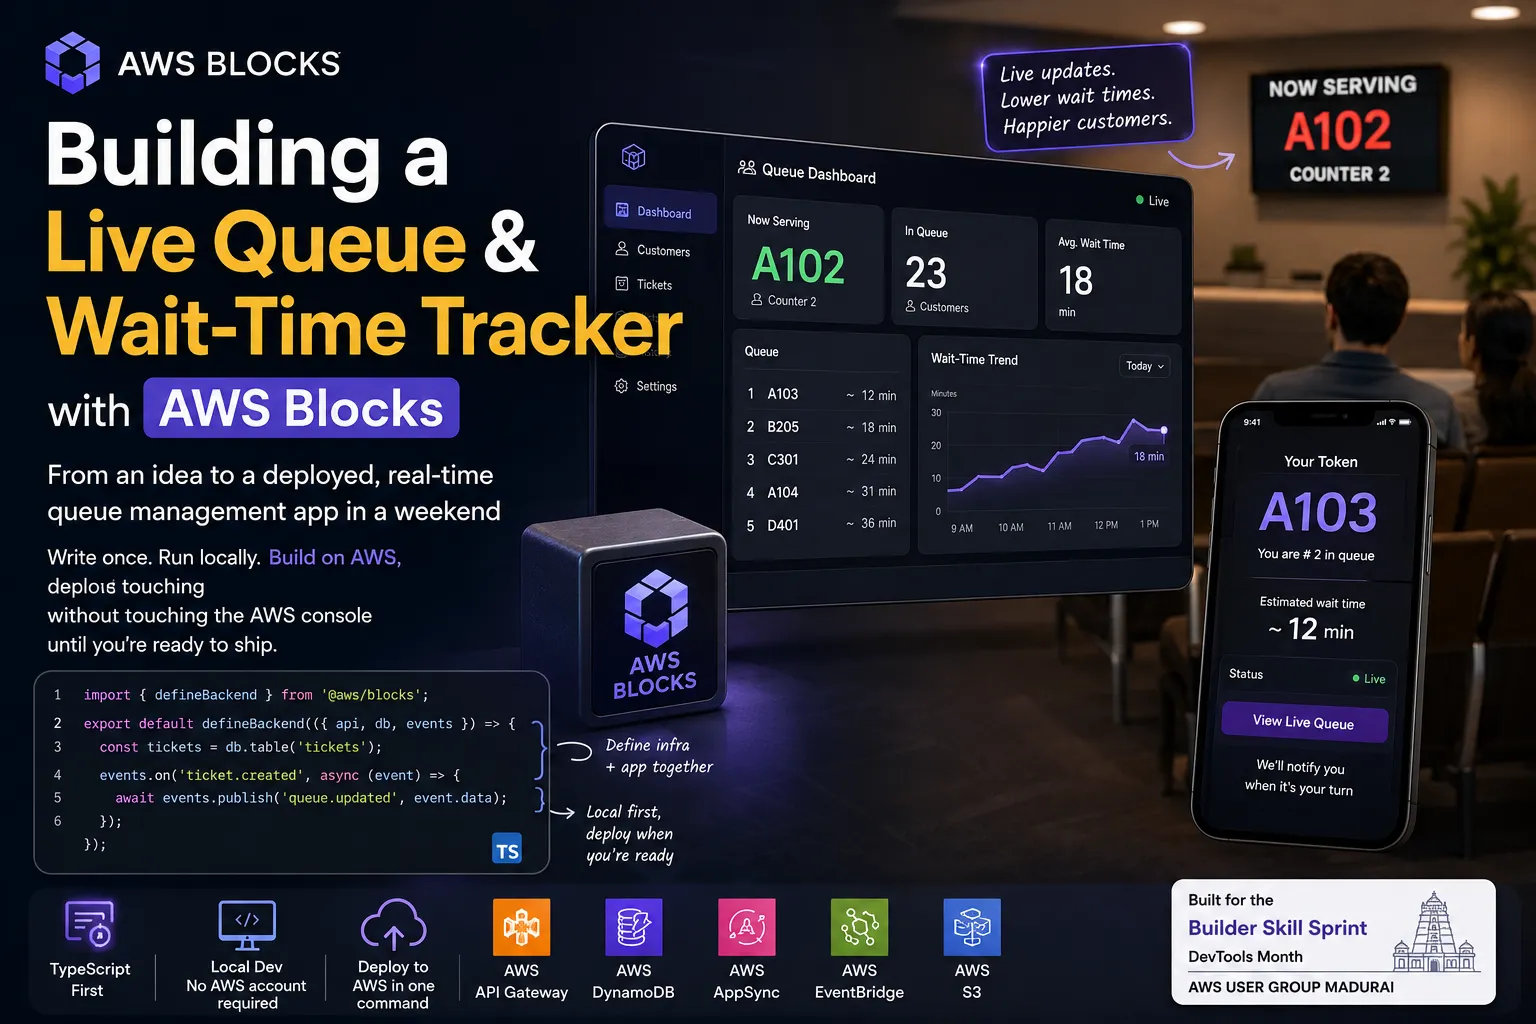
Building a Live Queue & Wait-Time Tracker with AWS Blocks
How I went from an idea to a deployed, real-time queue management app in a weekend — using a backend framework that lets you build on AWS without touching the AWS console until you're ready to ship

Built for the Builder Skill Sprint — DevTools Month, organized by AWS User Group Madurai.
Table of Contents
- Introduction
- What is AWS Blocks?
- The Building Blocks I used
- The app: Live Queue & Wait-Time Tracker
- Architecture
- How it works: request and realtime flow
- User flows: staff vs. customer
- Challenges I faced
- Deploying it
- What I'd add next
- Results
- Conclusion and links
Introduction
Every clinic, repair shop, and campus service counter still runs on the same thirty-year-old piece of UX: a paper ticket with a number on it, and a customer standing around wondering if they've been forgotten. It's a solved problem, technically — but most small operations either can't justify a heavyweight queue-management SaaS subscription or don't want to stand up a backend team to build one internally.
I wanted to see how far a small team (in my case, one developer) could get building a real, production-shaped version of this in a weekend — with live position tracking, a staff dashboard, and actual AWS infrastructure behind it. That's what led me to AWS Blocks, a newer backend toolkit that lets you write infrastructure and application code in the same TypeScript file, run it entirely locally with zero AWS account required, and deploy the exact same code to real AWS when you're ready.
This article walks through what AWS Blocks actually is, how I used it to build a Live Queue & Wait-Time Tracker, the real problems I ran into along the way, and what deploying it to production actually looks like on AWS.
What is AWS Blocks?
AWS Blocks (currently in preview) is a backend toolkit for building full-stack applications on AWS. The core idea is simple to state but genuinely different from how most of us have built on AWS before: a "Block" bundles your application code, a local mock implementation, and the AWS infrastructure definition into a single reusable unit.
Instead of separately writing a Lambda function, a CDK stack for its infrastructure, an IAM policy for its permissions, and a mock for local testing, you write one thing:
1
2
3
4
5
6
7
8
9
import { Scope, DistributedTable } from '@aws-blocks/blocks';

import { z } from 'zod';


const scope = new Scope('my-app');


const orders = new DistributedTable(scope, 'orders', {

  schema: z.object({ userId: z.string(), orderId: z.string(), total: z.number() }),

  key: { partitionKey: 'userId', sortKey: 'orderId' },

});
That single
DistributedTable declaration is simultaneously:- An in-memory/on-disk mock when you run
npm run devlocally — no AWS account needed at all. - A DynamoDB table CDK construct when you run
cdk synthor deploy. - A set of real AWS SDK calls when the code executes inside the deployed Lambda.
This works because of Node.js's conditional exports feature — the same import resolves to different implementations depending on the runtime context. It's a clever piece of engineering that removes an entire category of "works locally, breaks in prod" bugs, because the actual data-access code path doesn't change between environments — only what's underneath it does.
Main features
- Local-first development.
npm create @aws-blocks/blocks-app@latest my-appgets you a running app onlocalhost:3000in under a minute, with every backend capability — auth, database, realtime — running as a local mock. No AWS credentials required to start building. - End-to-end type safety, no codegen. The frontend imports the backend's exported API directly (
import { api } from 'aws-blocks') and gets full TypeScript inference. Change a method signature on the backend, and the frontend shows a compile error immediately — there's no.d.tsgeneration step to run in between. - JSON-RPC over HTTP, WebSocket for realtime. API calls are typed function calls under the hood, transported as JSON-RPC 2.0. Realtime pub/sub runs over an actual WebSocket connection, both locally (in-process EventEmitter) and on AWS (API Gateway WebSocket).
- You're never boxed in. Every Block is a real CDK construct. When you need something Blocks doesn't expose a knob for, you drop into raw CDK on the same stack — no separate infrastructure repo, no context-switching between "the framework" and "the real AWS APIs."
- Broad category coverage. Authentication (
AuthBasic,AuthCognito,AuthOIDC), data storage (KVStore,DistributedTable,Database,FileBucket), realtime and background work (Realtime,AsyncJob,CronJob), AI (Agent,KnowledgeBase), and observability (Metrics,Logger,Tracer,Dashboard) are all available as the same pattern.
For my project, the local-first part mattered more than I expected going in — I built and fully tested the entire app, including realtime WebSocket updates and staff auth, without ever touching the AWS console. I only needed real infrastructure once I wanted a public URL for my phone.
The Building Blocks I used
For the queue tracker, I composed five Blocks. Here's what each one gave me, and what it becomes on real AWS:
| Building Block | What it gave my app | AWS resource it becomes |
|---|---|---|
AuthBasic | Staff username/password login with a JWT session cookie — customers never see this | DynamoDB table (user records) + JWT signing in the Lambda |
DistributedTable (×2) | Structured storage for queues and entries, with a secondary index for querying "who's currently waiting" without a full table scan | 2 DynamoDB tables, one with a GSI |
Realtime | Typed WebSocket pub/sub — one channel per customer ticket, one per staff dashboard | API Gateway WebSocket API + a DynamoDB table for connection tracking |
Metrics + Dashboard | Custom metrics (customers joined/served/no-show, wait times) and an auto-generated ops dashboard | CloudWatch Logs (Embedded Metric Format) + a CloudWatch Dashboard |
ApiNamespace | The typed RPC surface the frontend calls (api.joinQueue(...), api.staffCallNext(...)) | A single Lambda function + API Gateway REST endpoint |

One detail worth calling out: every method on an
ApiNamespace is public by default. There's no implicit auth wall — you opt into gating a method by calling auth.requireAuth(context) at the top of it. This is a deliberate design choice (documented clearly), and it shaped how I split my API: all staff* methods start with a requireAuth call, while customer-facing methods (joinQueue, getMyTicket) are intentionally public — the unguessable queue code and ticket ID are the access control, not a login.The app: Live Queue & Wait-Time Tracker
The app replaces the physical "take a number" system for walk-in services. There are two distinct users:
- Staff — sign in, create one or more queues, watch a live board of everyone waiting/called/serving, and pull operational stats (average wait time, busiest hour, throughput).
- Customers — no account, no app install. They scan a QR code (or type a short join code) posted at the counter, enter their name, and watch their position and estimated wait time update live on their own phone.
Feature highlights:
- Live position updates over WebSocket — no polling, no manual refresh.
- QR code + short join code generated per queue, ready to print and tape to the counter.
- Optimistic-locked queue operations — call next, start serving, complete, mark no-show, cancel — all safe under concurrent staff actions.
- Built-in analytics — average wait/service time, cancellations, no-shows, and an hourly throughput chart with the busiest hour highlighted.


Architecture
Here's the full picture of what's actually running on AWS behind this app.
Diagram 1 — AWS Architecture

The architecture is intentionally flat: one Lambda function handles every request — API calls, staff auth, and WebSocket connections all route through it. This isn't a limitation of the framework; it's the right shape for an app this size. There's no orchestration layer to reason about, no cross-service latency to debug, and no separate deployment pipeline per Block.
The data layer is two
DistributedTable DynamoDB tables:queues— one row per queue, holding the running aggregates (total served, cumulative wait minutes, hourly-served histogram) that power the stats tab. These are read-modify-write with optimistic locking — more on why in the Challenges section.entries— one row per customer ticket, with abyStatusglobal secondary index. This is what makes "show me everyone currently waiting" an efficient indexed query instead of a full table scan, which matters once a queue has months of ticket history behind it.
How it works: request and realtime flow
Diagram 2 — Sequence Diagram

The sequence diagram traces the two things that actually make this app feel "live":
- A customer joins. The frontend calls
api.getQueueInfo(code)for a preview (people ahead, estimated wait) before committing, thenapi.joinQueue(code, name)to get a ticket. The response includes the customer's position — computed at join time from the current waiting line length. - Staff calls the next customer.
api.staffCallNext(queueId)queries thebyStatusGSI for the oldest waiting ticket, advances its status with a conditional (optimistic-locked) write, and — this is the part that matters — immediately republishes updated positions to everyone still in line over their individual WebSocket channels. Nobody has to refresh to see they've moved up. - The staff board updates too. A separate lightweight "something changed" signal goes out over a
staffRealtime channel, which just tells connected dashboards to refetch the active queue rather than trying to keep a diff in sync over the wire.
Two separate channels — REST for request/response, WebSocket for push — sharing the same Lambda handler underneath.
User flows: staff vs. customer
Diagram 3 — User Flow Diagram

The two swimlanes show how differently the two user types experience the same underlying system:
- Staff authenticate, then move through a management loop: create a queue → share its code → work the live board → check stats → open/close the queue as needed. Every action here is authenticated and idempotent-safe under concurrency.
- Customers never see a login screen. Their entire journey — scan, join, watch, get called — has zero account friction, and the diagram shows the one point where the two flows intersect: a staff "Call next" click is what triggers the customer's "You're up next!" notification, in real time.
Challenges I faced
Building this surfaced a handful of genuinely interesting problems — some framework-specific, some just distributed-systems fundamentals wearing a queue-app costume.
1. Getting the estimated wait time right
My first pass computed estimated wait as
position × averageServiceMinutes. It looked fine until I tested with several people in a real line: the average collapsed toward zero after a couple of fast test completions, and every customer's estimate rounded down to "0 minutes" regardless of how many people were actually ahead of them. The fix was two-fold: a floor on the average service time so a handful of unrealistically fast completions couldn't drag every future estimate to zero, and accounting for whoever is already being served right now — their remaining service time matters just as much as the queue length.2. No atomic increment or update on DistributedTable
DistributedTable deliberately has no update() or increment() method — only get, put, delete, and conditional writes via ifFieldEquals. Every mutation (advancing a ticket's status, incrementing the ticket counter, rolling stats into the queue aggregate) had to become a read-modify-write loop with a version field and a handful of retries on conflict. This is the right tradeoff for a distributed system — it forces you to think about concurrent writers up front instead of discovering the race condition in production — but it did mean writing that retry helper once and reusing it everywhere.3. Renumbering the whole waiting line on every change
Calling, cancelling, or marking someone a no-show shifts everyone behind them up one position. Get this wrong and customers see stale position numbers. The fix was to recompute and republish position/wait-time to the entire waiting line — not just the affected ticket — every time the line's shape changes, which is exactly what Diagram 2's
renotifyWaitingLine step captures.4. A duplicate "Sign Out" box, courtesy of React StrictMode
This one was subtle. I mounted a vanilla-DOM auth widget via a ref callback gated by
useState. It worked — until I noticed two sign-out buttons stacked in the header. React 18's StrictMode intentionally mounts, unmounts, and remounts components once in development to catch missing cleanup — and my mount logic had no cleanup, so the first mounted DOM node never got removed before the second mount appended another one. The fix was moving the mount into a useEffect with a proper cleanup function that removes what it appended.5. Sign-in and sign-up in one confusing form
The auth widget's default behavior renders every available action for the current auth state — and "signed out" offers both sign-in and sign-up simultaneously, so both forms stacked inside a single card. It looked like a broken form rather than two options. The fix was a
hideActions filter tied to a small segmented "Sign in / Create account" toggle I built myself, so exactly one form shows at a time.6. The CloudFront account-verification wall
This was the most frustrating one, and entirely outside my code. Deploying the full app (
npm run deploy, which provisions CloudFront + S3 for the frontend) failed with:"Your account must be verified before you can add new CloudFront resources. To verify your account, please contact AWS Support..."
This turned out to be a known, account-level restriction some AWS accounts hit on their first-ever CloudFront distribution — regardless of whether it's created via CDK, the console, or any other path, and regardless of account age. It's not something a support-ticket-averse builder can self-service around... except for one thing: AWS Amplify Hosting provisions CloudFront on your behalf through a different internal path, and it wasn't blocked. I deployed the backend to AWS directly (DynamoDB, Lambda, API Gateway — none of which touch CloudFront) and shipped the frontend as a manual zip deploy to a new Amplify app, wiring CORS and the API URL by hand. It's not the one-command
npm run deploy experience the framework is designed around, but it got a real, public, phone-testable URL live the same day.Deploying it
Running
npm run deploy does exactly this, in order:- Generates the typed client from your backend code.
- Runs
npx cdk deploy --require-approval never, which synthesizes your Building Blocks into a CloudFormation template. - Creates or updates one CloudFormation stack (named
<app-id>-prod) containing every resource your Blocks declared. - Builds and deploys the frontend (if the
Hostingconstruct is present). - Reads the stack's Outputs and writes the resolved API URL into a local config file the frontend fetches at runtime.
Tearing it down is the mirror image:
npm run destroy runs cdk destroy --force against that same stack, deleting everything CDK created for it in one operation.For my app specifically, that one stack contained: 4 DynamoDB tables, 1 Lambda function, 2 API Gateways (REST + WebSocket), 1 CloudWatch Dashboard, and the IAM roles wiring it all together. Because everything is pay-per-request or on-demand — no provisioned capacity, no always-on compute — the realistic cost for light usage sits in the $0-5/month range. The actual risk isn't runaway billing from traffic; it's forgetting to run
destroy after a test deployment and leaving idle (though cheap) resources running.
What I'd add next
- Multi-service routing — one queue per service type at a single location (e.g., a clinic with separate "General" and "Lab Results" lines), with shared stats.
- SMS notifications for the "you're up next" moment, for customers who've stepped away from their phone screen — Blocks'
EmailClientpattern makes this a natural extension for an SMS-equivalent Block. - Multi-staff-account support per queue rather than the current per-creator ownership model, for locations with rotating shifts.
- Revisiting the frontend hosting story once the CloudFront account restriction clears, to move from the manual Amplify zip-deploy workaround back to the framework's intended one-command deploy.
Conclusion
AWS Blocks removed almost all of the "plumbing" work I expected to spend a weekend on — wiring IAM, writing a WebSocket connection-management table by hand, standing up a local mock for auth just to test a sign-up flow. What was left was mostly actual product logic: the wait-time math, the queue-state machine, the realtime renumbering — the parts of the problem that were genuinely mine to solve. The one real friction point I hit (the CloudFront account verification) was an AWS account-level policy, not a Blocks limitation, and it had a workable path around it once I understood what was actually blocked.
If you're building an internal tool, an MVP, or anything where "local-first, deploy when ready" matches how you actually work, it's worth trying.
- GitHub repo: https://github.com/Ajaykumarkv17/blocks-live-queue-tracker
- AWS Blocks documentation: https://docs.aws.amazon.com/blocks/latest/devguide/what-is-blocks.html
- AWS Blocks GitHub: https://github.com/aws-devtools-labs/aws-blocks
Enjoyed reading this content? Let the author know!
Your likes, comments, shares, and saves help creators reach more builders.

Loading recommendations
Loading article