
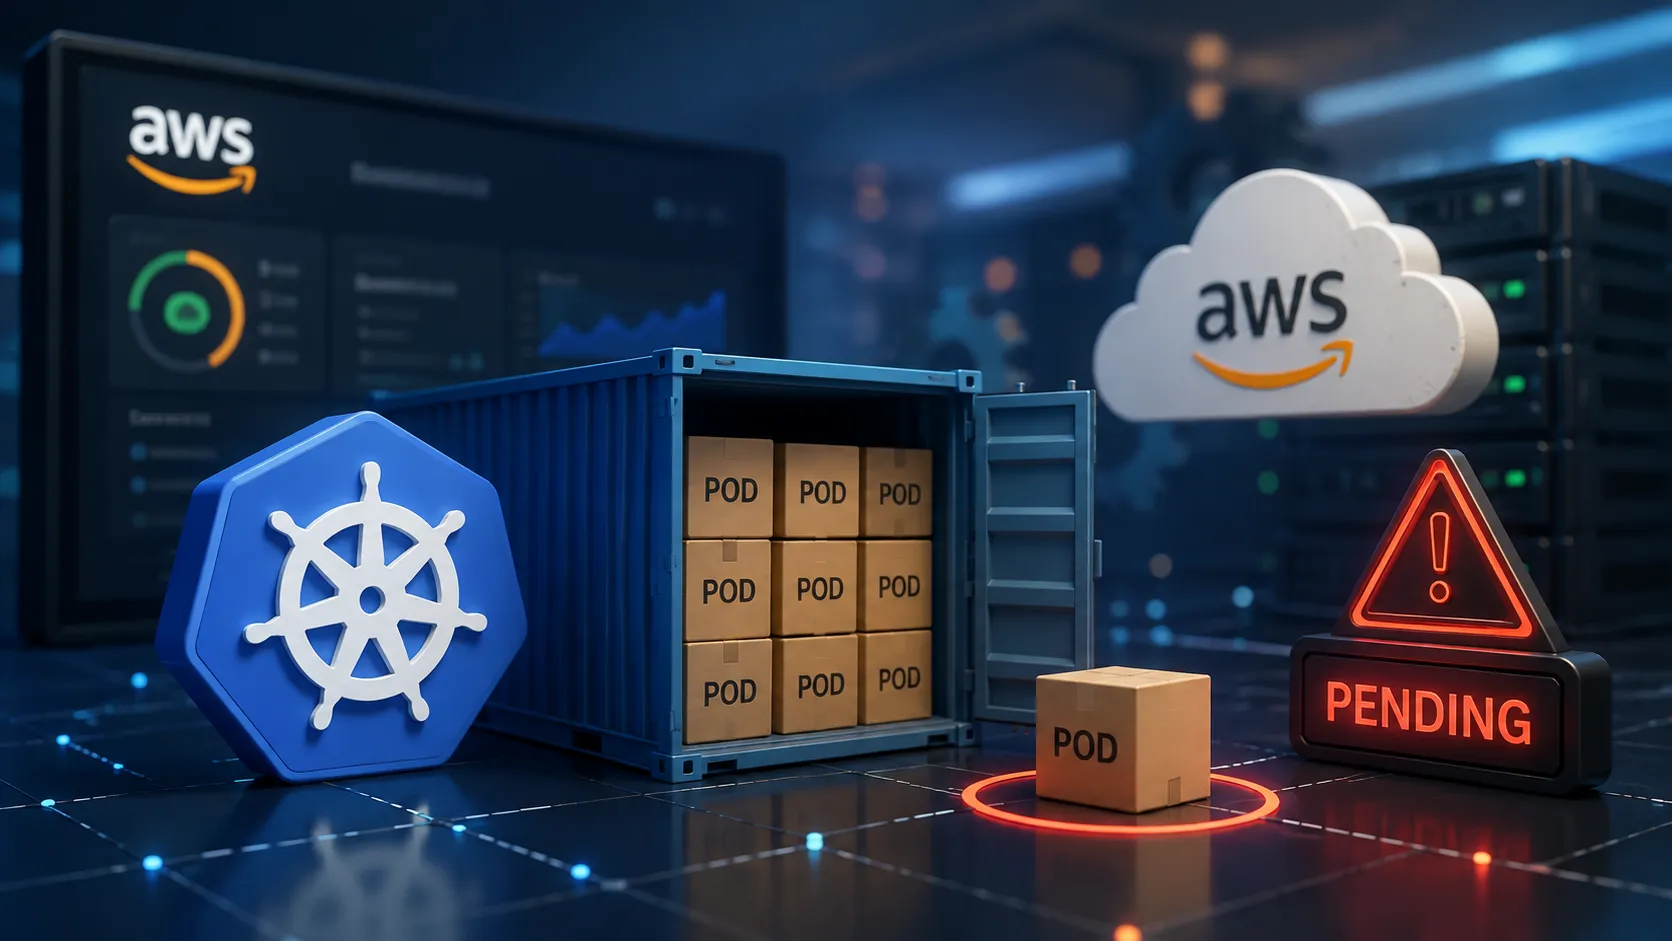
Amazon EKS Pods Pending? The Hidden Kubernetes Pod Limit and How PriorityClass Helps
Learn why Kubernetes Pods can remain in the Pending state even when CPU and memory are available. This article explains Amazon EKS pod limits, ENI/IP address constraints, DaemonSets, and how PriorityClass helps ensure critical system Pods are scheduled first.
Series: Containers (1 article)
- 1Amazon EKS Pods Pending? The Hidden Kubernetes Pod Limit and How PriorityClass Helps This article

Introduction
Recently, while managing an Amazon EKS cluster, I noticed something that looked confusing at first.
The worker nodes still had plenty of CPU and memory available, but several Pods remained in the Pending state.
At first glance, it looked like a resource allocation issue. However, after investigating further, the real reason turned out to be something different the node had already reached its maximum supported Pod count.

Even when CPU and memory are available, new Pods can remain in the Pending state if the node has reached its maximum Pod limit. Using Kubernetes PriorityClass helps ensure critical workloads continue running.
This article explains why this happens, how Amazon EKS determines Pod limits, and how Kubernetes PriorityClass can help ensure critical workloads continue running.
The Problem
Imagine an EKS node running on an EC2 instance.
Example:
- CPU Usage: 45%
- Memory Usage: 52%
- Available CPU: Yes
- Available Memory: Yes
Everything looks healthy, Now deploy another Pod. Instead of scheduling successfully the Pod is in Pending state. Why?
The Common Misconception
Most engineers immediately check:
- CPU
- Memory
- Node conditions
Everything appears normal.
But Kubernetes checks more than CPU and memory.
Every node has a maximum number of Pods it can run.
Once this limit is reached, Kubernetes cannot schedule additional Pods on that node, even if CPU and memory are still available.
Why Amazon EKS Has Pod Limits
In Amazon EKS, the maximum number of Pods depends on:
- EC2 instance type
- Number of Elastic Network Interfaces (ENIs)
- Number of secondary IP addresses supported by each ENI
- Amazon VPC CNI configuration
For example, two instance types with the same CPU and memory may support different maximum Pod counts because they have different networking capabilities.
This is why choosing an EC2 instance type involves more than just compute capacity.
A Real Example
Let's take an example of an Amazon EKS worker node running on an m5.large instance.
The node has reached its maximum supported Pod limit of 29, but its resource utilization still looks healthy:
- Running Pods: 29
- CPU Usage: 40%
- Memory Usage: 55%
Now, imagine you deploy another critical Pod such as:
- AWS EBS CSI Driver
- Fluent Bit
- Metrics Server
- Node Exporter
Instead of being scheduled, the Pod remains in the Pending state.

An Amazon EKS worker node can have available CPU and memory but still be unable to schedule new Pods after reaching its maximum supported Pod limit, causing additional Pods to remain in the Pending state.
At first, it may seem like the node has enough CPU and memory to run another Pod. However, the actual reason is that the node has already reached its maximum supported Pod capacity. Even with available resources, Kubernetes cannot schedule additional Pods once this limit is reached.
Why This Is Dangerous
Some of the most important Kubernetes components run as DaemonSets:
- AWS EBS CSI Driver
- Amazon VPC CNI
- Fluent Bit
- Prometheus Node Exporter
- Security Agents
If these Pods remain Pending:
- Volumes may fail to mount.
- Logs may stop being collected.
- Metrics may disappear.
- Monitoring becomes incomplete.
- Storage operations may fail.
Where PriorityClass Helps
When a node is running out of capacity, not all Pods are equally important. This is where PriorityClass becomes useful. It allows Kubernetes to assign a priority value to Pods, ensuring that critical system workloads are given preference over regular application Pods.
For example:
- High Priority: 1000000 → Critical system components (AWS EBS CSI Driver, VPC CNI, CoreDNS, etc.)
- Low Priority: 1000 → Regular application Pods

PriorityClass allows Kubernetes to prioritize critical workloads by scheduling high-priority Pods ahead of lower-priority Pods. It influences scheduling order but does not increase the maximum number of Pods a node can run.
If the scheduler needs to free up resources, it can preempt lower-priority Pods (when preemption is enabled) to allow higher-priority Pods to run. This helps ensure that essential Kubernetes and AWS components continue to function properly.
Important: PriorityClass does not increase the maximum number of Pods a node can run. It only influences which Pods are scheduled first and which Pods can preempt lower-priority workloads when necessary.
Practical Solution: Using PriorityClass for Critical DaemonSets
When a node reaches its maximum Pod capacity, Kubernetes cannot schedule additional Pods even if CPU and memory are still available.
This becomes a problem for infrastructure components such as:
- Metrics Server
- Fluent Bit
- Node Exporter
- AWS EBS CSI Driver
- Security agents
These components are essential for monitoring, logging, and storage. They should always have a higher scheduling priority than regular application Pods.
Create a PriorityClass and assign it to these critical workloads.
Step 1: Create a PriorityClass
1
2
3
4
5
6
7
8
apiVersion: scheduling.k8s.io/v1
kind: PriorityClass
metadata:
  name: monitoring-critical
value: 100000
preemptionPolicy: PreemptLowerPriority
globalDefault: false
description: Critical monitoring components
Apply it:
1
kubectl apply -f monitoring_priorityclass.yaml
Step 2: Assign the PriorityClass to the DaemonSet
Example for a monitoring agent such as Fluent Bit or Node Exporter.
1
2
3
4
spec:
  template:
    spec:
      priorityClassName: monitoring-critical
Apply the updated DaemonSet using Helm Charts or kubectl apply command.
That's all you need to change.
Best Practices
- Monitor Pod density, not just CPU and memory.
- Reserve high-priority classes for infrastructure Pods only.
- Don't assign high priority to every application Pod.
- Monitor Pod density along with CPU and memory.
- Use Cluster Autoscaler or Karpenter to add nodes when Pod capacity is reached.
- Select EC2 instance types based on both compute resources and maximum supported Pods.
- Regularly review DaemonSets and system workloads.
- Understand the Pod limits associated with your EC2 instance types.
Key Takeaways
CPU and memory are only part of the scheduling decision.
On Amazon EKS, Pod capacity is also limited by the networking capabilities of the EC2 instance and the Amazon VPC CNI.
Understanding these limits—and using PriorityClass appropriately for critical workloads helps build more resilient Kubernetes clusters.
Series: Containers (1 article)
- 1Amazon EKS Pods Pending? The Hidden Kubernetes Pod Limit and How PriorityClass Helps This article
Enjoyed reading this content? Let the author know!
Your likes, comments, shares, and saves help creators reach more builders.

Loading recommendations
Loading article