
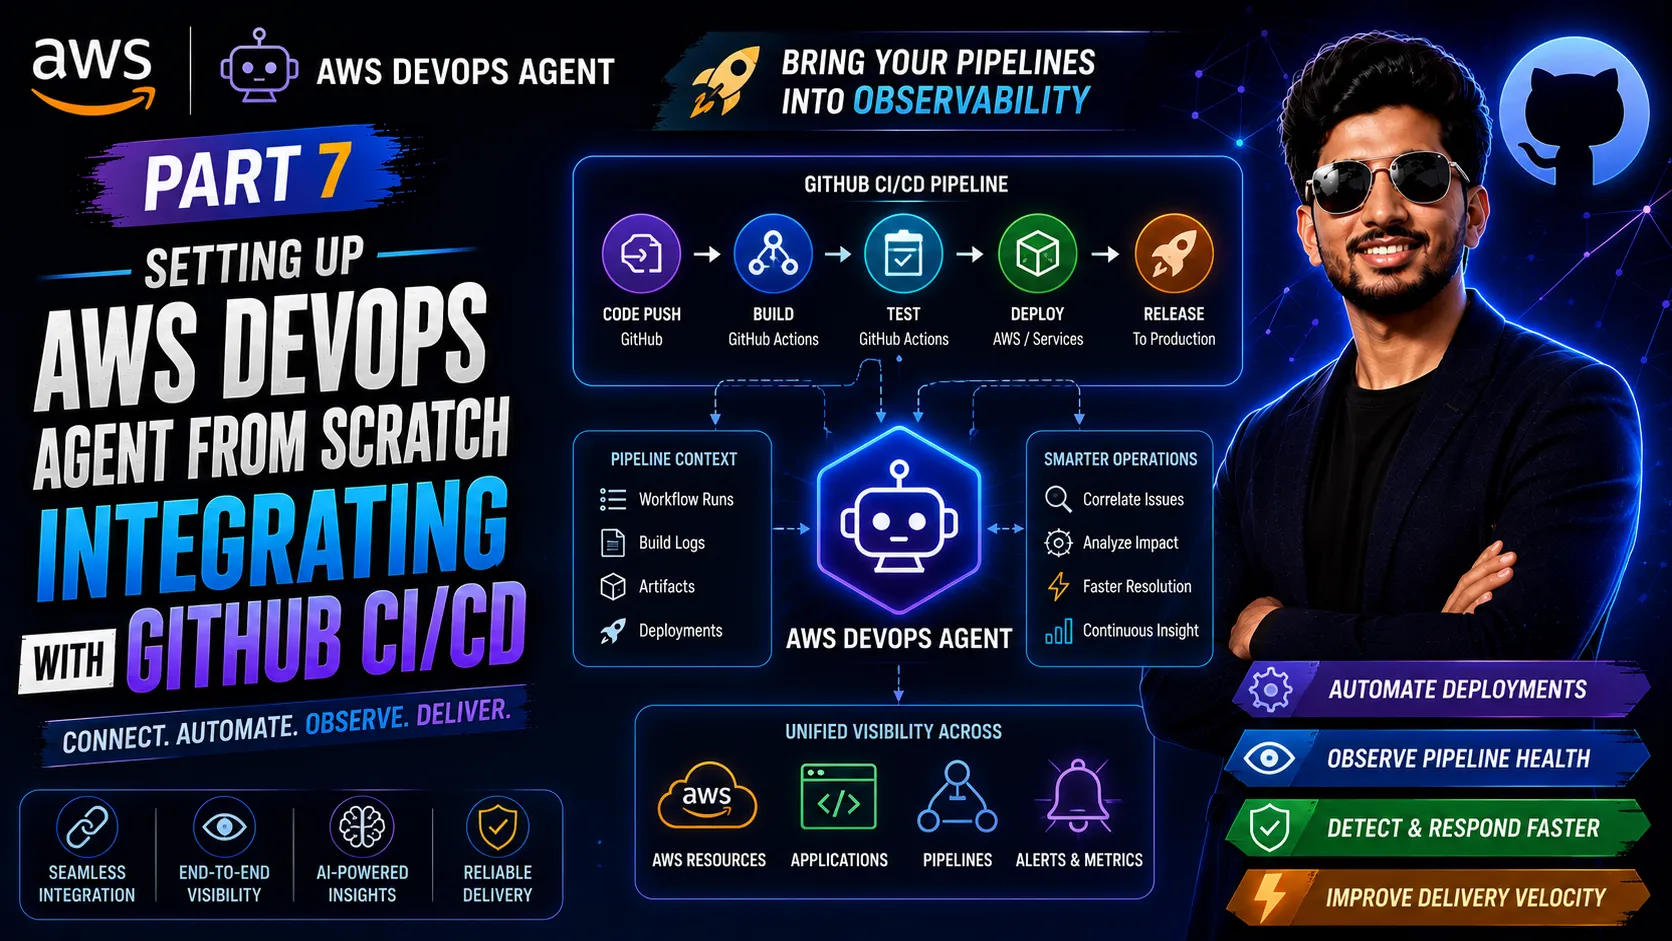
Integrating with GitHub CI/CD (Part 7)
In this part, we will: Create a GitHub repository with a simple demo app and a CI/CD deployment workflow Connect GitHub to the DevOps Agent using the GitHub App OAuth flow Link the repository to our Agent Space Push a “bad commit” that causes a CPU spike on the EC2 instance Watch the DevOps Agent automatically correlate the incident with the deployment that triggered it
Series: Setting Up AWS DevOps Agent from Scratch (7 articles)
- …
- 7Integrating with GitHub CI/CD (Part 7) This article

The Goal: Deployment-Aware Incident Investigation
Without GitHub integration, when an incident happens the agent investigates based on metrics, alarms, and topology alone. It can tell you what is broken but not why it broke now.
With GitHub connected, the agent receives deployment events every time a GitHub Actions workflow completes. When an incident occurs, it can:
- Check whether a deployment happened around the time the incident started
- Look at the commits in that deployment to see what changed
- Include the deployment correlation in its investigation findings
1
2
3
4
5
6
7
8
9
10
11
12
13
Bad commit pushed to main
        ↓
GitHub Actions deploys to EC2 (deployment event sent to DevOps Agent)
        ↓
CPU spikes → CloudWatch alarm fires
        ↓
DevOps Agent starts investigation
        ↓
Agent checks recent deployments → finds one 5 minutes before the incident
        ↓
Agent correlates: "Deployment preceded this incident"
        ↓
Investigation findings include the commit and what changed
Step 1: Create the GitHub Repository
1.1 — Create a New Repository
- Go to [github.com](https://github.com ) and sign in.
- Click New repository.
- Configure:
— Repository name: `devops-agent-demo-app`
— Visibility: Public (or Private — both work)
— Check Add a README file - Click Create repository.
1.2 — Add the Application Files
We’ll use the Apache web server already running on our EC2 instance from Part 3. The repository will manage the app’s HTML content and deployment script.
Clone the repository locally and add the following files:
`app/index.html`
1
2
3
4
5
6
7
<html>
<head><title>DevOps Agent Demo App</title></head>
<body>
  <h1>DevOps Agent Demo App</h1>
  <p>Version: 1.0.0</p>
</body>
</html>
`scripts/deploy.sh`
1
2
3
4
5
6
7
8
9
10
set -e
# Deploy app content
sudo cp /home/ec2-user/app/index.html /var/www/html/index.html
# Restart web server
sudo systemctl restart httpd
echo "Deployment complete."Commit and push these files to the main branch:
1
2
3
git add .
git commit -m "Initial app deployment"
git push origin main
Press enter or click to view image in full size
1.3— Add GitHub Secrets
The workflow needs SSH access to the EC2 instance. Add three secrets in your repository:
- Go to your repo → Settings → Secrets and variables → Actions → New repository secret.
- Add the following secrets:
1
2
3
4
5
| Secret name   | Value |
|---------------|-------|
| `EC2_HOST`    | Public IP address of your `devops-agent-demo-app` EC2 instance |
| `EC2_USER`    | `ec2-user` |
| `EC2_SSH_KEY` | Contents of your EC2 key pair `.pem` file (the full private key text) |
Press enter or click to view image in full size
1.4 — Add GitHub Actions Deployment Workflow
Create `.github/workflows/deploy.yml`:
1
2
3
4
5
6
7
8
9
10
11
12
13
14
15
16
17
18
19
20
21
22
23
24
25
26
27
28
29
30
name: Deploy to EC2

on:
  push:
    branches: [main]

jobs:
  deploy:
    runs-on: ubuntu-latest

    steps:
      - name: Checkout code
        uses: actions/checkout@v4

      - name: Copy files to EC2
        uses: appleboy/scp-action@v0.1.7
        with:
          host: ${{ secrets.EC2_HOST }}
          username: ${{ secrets.EC2_USER }}
          key: ${{ secrets.EC2_SSH_KEY }}
          source: "app/,scripts/"
          target: "/home/ec2-user/"

      - name: Run deployment script
        uses: appleboy/ssh-action@v1.0.3
        with:
          host: ${{ secrets.EC2_HOST }}
          username: ${{ secrets.EC2_USER }}
          key: ${{ secrets.EC2_SSH_KEY }}
          script: bash /home/ec2-user/scripts/deploy.sh
Commit and push this file.
1.5 — Verify the Workflow Runs
The push in Step 1.4 should have triggered the workflow. Confirm it ran successfully:
- In your repo, click Actions.
- The Deploy to EC2 workflow should show a green checkmark.
Press enter or click to view image in full size
Step 2: Connect GitHub to the DevOps Agent
GitHub integration uses a GitHub App — AWS DevOps Agent automatically creates and installs it in your GitHub account through an OAuth flow. No personal access token is needed.
2.1 — Start the Registration
- In the AWS Management Console, go to AWS DevOps Agent → Agent Spaces and open your Agent Space.
- Click the Capabilities tab.
- In the Pipeline section, click Add.
- Select GitHub from the list.
If GitHub hasn’t been registered at the account level yet, the console will prompt you to register it first.
2.2 — Configure the Connection
On the Register GitHub Account / Organization screen:
- Select User (since we’re using a personal GitHub account).
- For GitHub App permissions, select Read & Write — this allows the agent to post inline code review comments and correlate deployments.
- Click Submit.
Your browser will redirect to GitHub.
2.3 — Authorize the GitHub App
On GitHub’s authorization screen:
- Review the permissions the app is requesting.
- Click Authorize AWS DevOps Agent.
2.4 — Install the GitHub App and Select the Repository
On the Install & Authorize screen:
1. Select Only select repositories.
2. Choose `devops-agent-demo-app`.
3. Click Install & Authorize.
2. Choose `devops-agent-demo-app`.
3. Click Install & Authorize.
You’ll be redirected back to the AWS DevOps Agent console, where GitHub now appears as a registered pipeline provider.
2.5 — Connect the Repository to the Agent Space
After registration, the console returns you to the Agent Space’s Capabilities tab with a prompt to select repositories:
- Select the `devops-agent-demo-app` repository.
- Click Add.
The repository now appears in the Pipeline section of your Agent Space.
Press enter or click to view image in full size
Step 3: Push a Bad Commit
Now we’ll simulate a real-world scenario: a developer pushes a change intended as a “performance improvement” that accidentally causes runaway CPU consumption.
3.1 — Introduce the Bug
Edit `scripts/deploy.sh` to add a background CPU-intensive process as part of deployment:
1
2
3
4
5
6
7
8
9
10
11
12
13
set -e
# Deploy app content
sudo cp /home/ec2-user/app/index.html /var/www/html/index.html
# Restart web server
sudo systemctl restart httpd
# FIXME: temporary background cache warming process (remove after testing)
nohup stress --cpu $(nproc) --timeout 600 > /dev/null 2>&1 &
echo "Deployment complete."Edit `app/index.html` to bump the version:
1
<p>Version: 1.1.0 — performance improvements</p>
Commit and push:
1
2
3
git add .
git commit -m "perf: add cache warming on deploy for faster response times"
git push origin main
Press enter or click to view image in full size
3.2 — Watch the Deployment Run
- In GitHub, click Actions — the Deploy to EC2 workflow will trigger automatically.
- Wait for it to complete (green checkmark).
At this point, the `stress` command is running on the EC2 instance in the background, pushing CPU to 100%.
3.3 — Watch the Alarm Fire
1. Open CloudWatch → Alarms.
2. Within 1–2 minutes, `devops-agent-demo-cpu-alarm` will transition to In alarm.
2. Within 1–2 minutes, `devops-agent-demo-cpu-alarm` will transition to In alarm.
The autonomous pipeline from Part 4 (CloudWatch → SNS → Lambda → Webhook) fires automatically. The DevOps Agent receives the event and starts an investigation.
Press enter or click to view image in full size
Step 4: Watch the Agent Correlate the Deployment
4.1 — Open the Investigation
- Open the DevOps Agent web app via Operator access.
- Click Incident Response in the left sidebar.
- A new investigation will appear — triggered automatically by the webhook.
Click into it to follow the investigation in real time.
Press enter or click to view image in full size
4.2 — See the Deployment Correlation
As the agent works through its analysis, watch for the deployment correlation step:
1. The agent identifies the EC2 instance as the affected resource.
2. It checks CloudWatch metrics — CPU at 100%.
3. It checks recent deployments — finds the GitHub Actions deployment that completed minutes before the alarm fired.
4. It links the deployment to the incident: ”A deployment to this instance completed at [time], approximately [N] minutes before CPU utilization exceeded the alarm threshold.”
5. It inspects the commit: ”`perf: add cache warming on deploy…`”
2. It checks CloudWatch metrics — CPU at 100%.
3. It checks recent deployments — finds the GitHub Actions deployment that completed minutes before the alarm fired.
4. It links the deployment to the incident: ”A deployment to this instance completed at [time], approximately [N] minutes before CPU utilization exceeded the alarm threshold.”
5. It inspects the commit: ”`perf: add cache warming on deploy…`”
The investigation findings now tell you not just what broke, but what change caused it — with a direct link to the commit.
Press enter or click to view image in full size
Press enter or click to view image in full size
4.3 — Review the Full Investigation Findings
The completed investigation will show:
- Root cause: CPU spike caused by a background `stress` process started during the deployment of commit `perf: add cache warming
- Deployment timeline: Deployment completed at [time], alarm triggered at [time + N minutes]
- Affected resources: EC2 instance, CloudWatch alarm
- Remediation suggestions: Roll back the deployment, remove the background process, redeploy
Press enter or click to view image in full size
Press enter or click to view image in full size
4.4 — Clean Up
Stop the CPU stress on the EC2 instance:
1
2
ssh -i your-key.pem ec2-user@YOUR_INSTANCE_IP
sudo killall stress
Revert the bad commit and redeploy:
1
2
git revert HEAD --no-edit
git push origin main
The GitHub Actions workflow will deploy the fix. The CloudWatch alarm will return to OK state, and if you wired up the OK notification in Part 4, the agent will automatically receive a `resolved` event and close the investigation.
What We Accomplished
In this part, we:
- Created a GitHub repository with a simple demo app and a GitHub Actions CI/CD workflow that deploys to the EC2 instance via SSH
- Connected GitHub to the DevOps Agent using the GitHub App OAuth flow — no personal access tokens needed
- Linked the repository to our Agent Space via the Pipeline section
- Pushed a bad commit that introduced a CPU-intensive background process as part of deployment
- Watched the DevOps Agent automatically correlate the incident with the GitHub deployment — identifying the specific commit that caused the CPU spike
- Saw the investigation findings include both the root cause analysis and the deployment link
The DevOps Agent now has a complete picture: infrastructure health, cross-cloud topology, custom runbook knowledge, and deployment history — all feeding into a single autonomous incident investigation workflow.
📖 Read the full blog on Medium: https://medium.com/@fawazcp/setting-up-aws-devops-agent-from-scratch-integrating-with-github-ci-cd-part-7-b8bc133995d3?sharedUserId=fawazcp
Series: Setting Up AWS DevOps Agent from Scratch (7 articles)
- …
- 7Integrating with GitHub CI/CD (Part 7) This article
Enjoyed reading this content? Let the author know!
Your likes, comments, shares, and saves help creators reach more builders.

Loading recommendations
Loading article