

Supercharge Your Browser: Unleashing AI-Powered Tampermonkey Magic!
Discover how to leverage the power of generative AI, specifically Amazon Q Developer, to create custom Tampermonkey scripts that enhance your web browsing experience.

Here is a bright idea that I enjoy sharing with people that I meet. :)
In the vast landscape of the internet, we often wish for a magic wand to tweak websites to our liking. Enter Tampermonkey, the Swiss Army knife of browser extensions. This powerful tool allows users to run custom JavaScript code on web pages, effectively modifying their behavior and appearance. Whether it's streamlining repetitive tasks, enhancing functionality, or simply making the web more enjoyable, Tampermonkey puts the power of customization at your fingertips.

In this post, we'll explore how cutting-edge AI technology, specifically Amazon Q Developer, can supercharge your Tampermonkey experience. We'll delve into the process of using AI to generate scripts that can transform any website you visit, all from the comfort of your own computer. From automating tedious tasks to creating entirely new functionalities, the possibilities are limited only by your imagination.
Like the idea? Why not give the post a thumbs up, and share ir with someone you like!
Understanding Tampermonkey
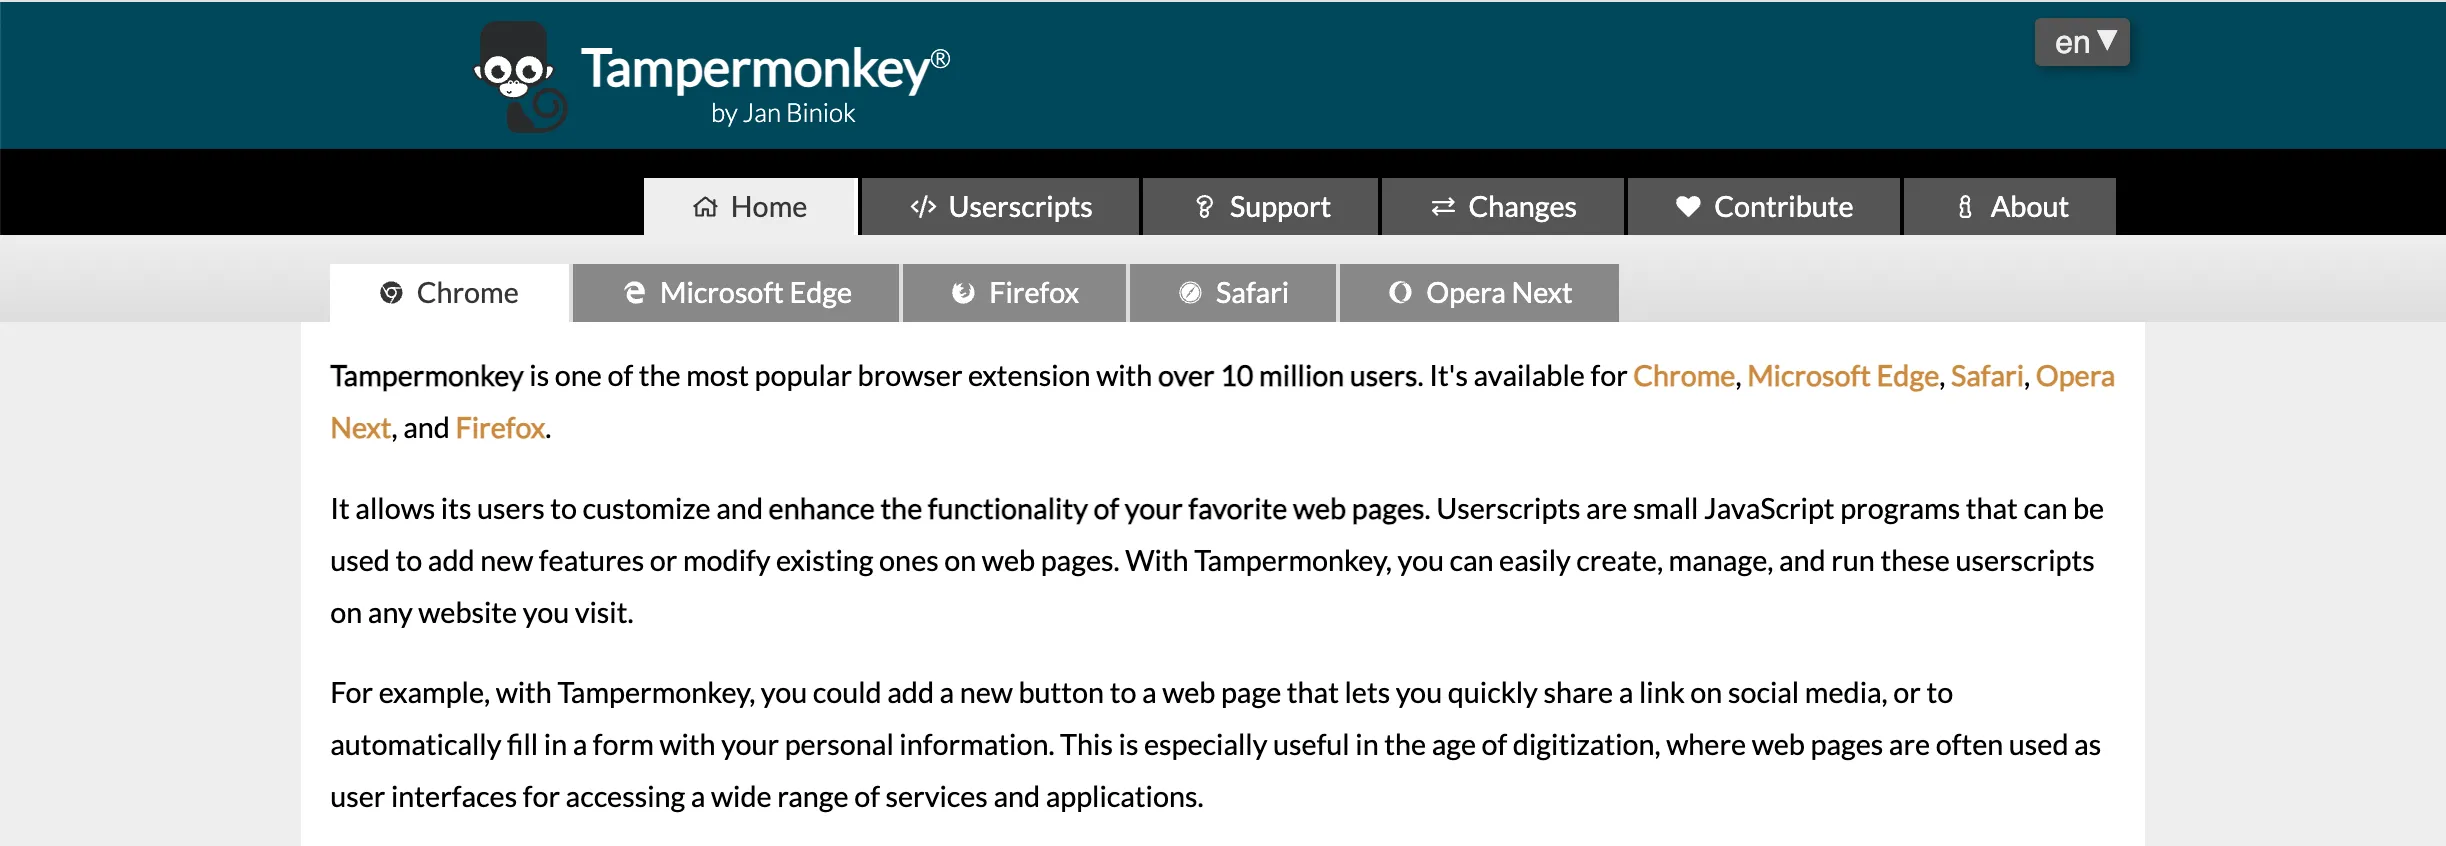
Tampermonkey is more than just a browser extension; it's a gateway to a personalized web experience. At its core, Tampermonkey is a userscript manager that allows you to run custom JavaScript code on web pages. This means you have the power to modify websites in ways that suit your needs and preferences.
Introducing Amazon Q Developer
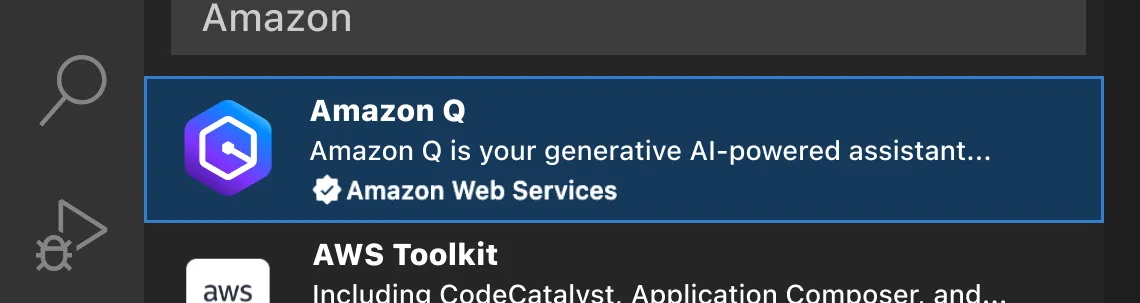
Amazon Q Developer is an AI-powered coding assistant developed by Amazon Web Services. It's part of the broader Amazon Q suite, which aims to bring the power of generative AI to various aspects of business and technology. Key features include:
- Code generation and completion
- Natural language understanding for coding tasks
- Context-aware suggestions
- Integration with popular IDEs
By leveraging Amazon Q Developer, you're not just creating scripts; you're tapping into a vast knowledge base of coding expertise. This AI assistant can help bridge the gap between your ideas and their implementation, making the process of creating Tampermonkey scripts more accessible and efficient than ever before.
Getting Started
Set Up Amazon Q Developer
- Create an AWS Builder ID for free access to Amazon Q Developer.
- Install the Amazon Q Developer Extension for your IDE (available for VS Code and JetBrains IDEs).
- Sign in with your AWS Builder ID to enable AI-powered assistance in your development environment.
For detailed instructions, refer to the official AWS documentation .
Install Tampermonkey
- Visit the Tampermonkey website and select the appropriate version for your browser.
- Pin the extension to your browser's toolbar for easy access.
- Click the Tampermonkey icon and select "Dashboard" to manage your scripts.
Creating Custom Scripts with AI
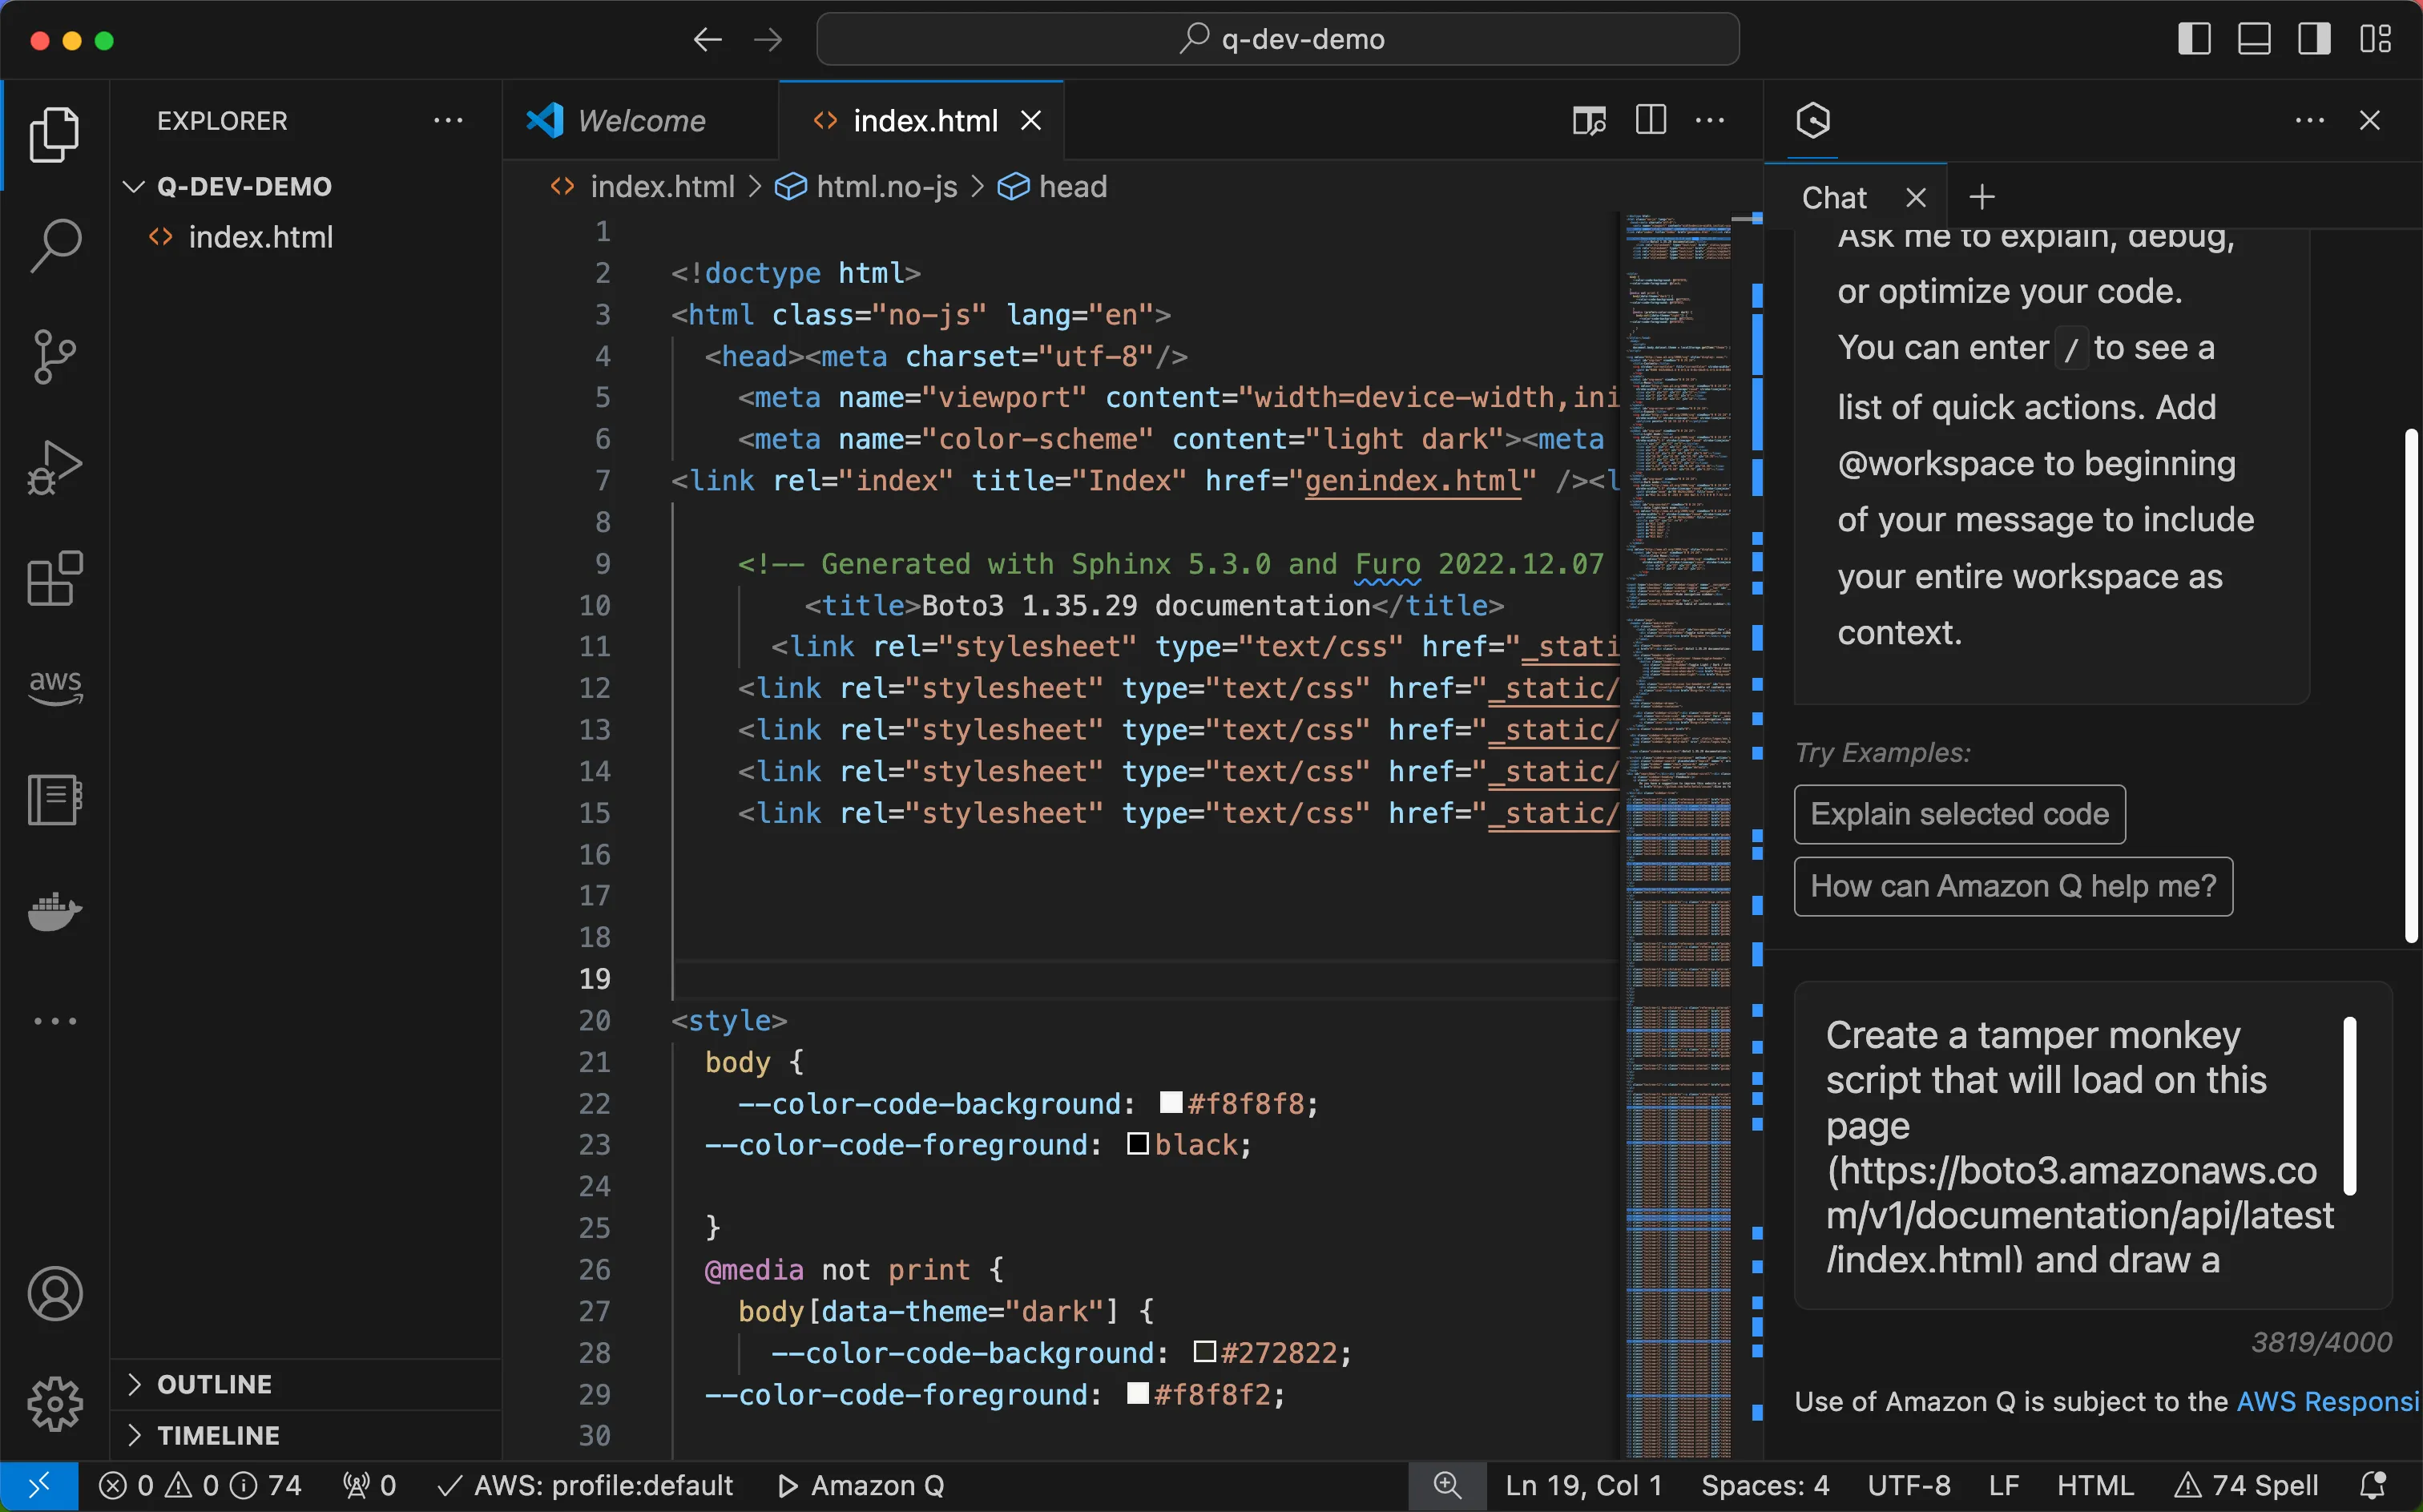
- Choose your target webpage for customization.
- Copy the HTML of the page by right-clicking and selecting "View Page Source".
- Paste the HTML into a new file in your IDE.
- Open the Amazon Q Developer chat window in your IDE.
- Use the prompt:
Create a Tampermonkey script that will load on [URL] and [DESCRIPTION OF DESIRED CHANGES]. - Copy the generated code and paste it into a new Tampermonkey script.
- Save the script and navigate to the target page to see your changes in action.
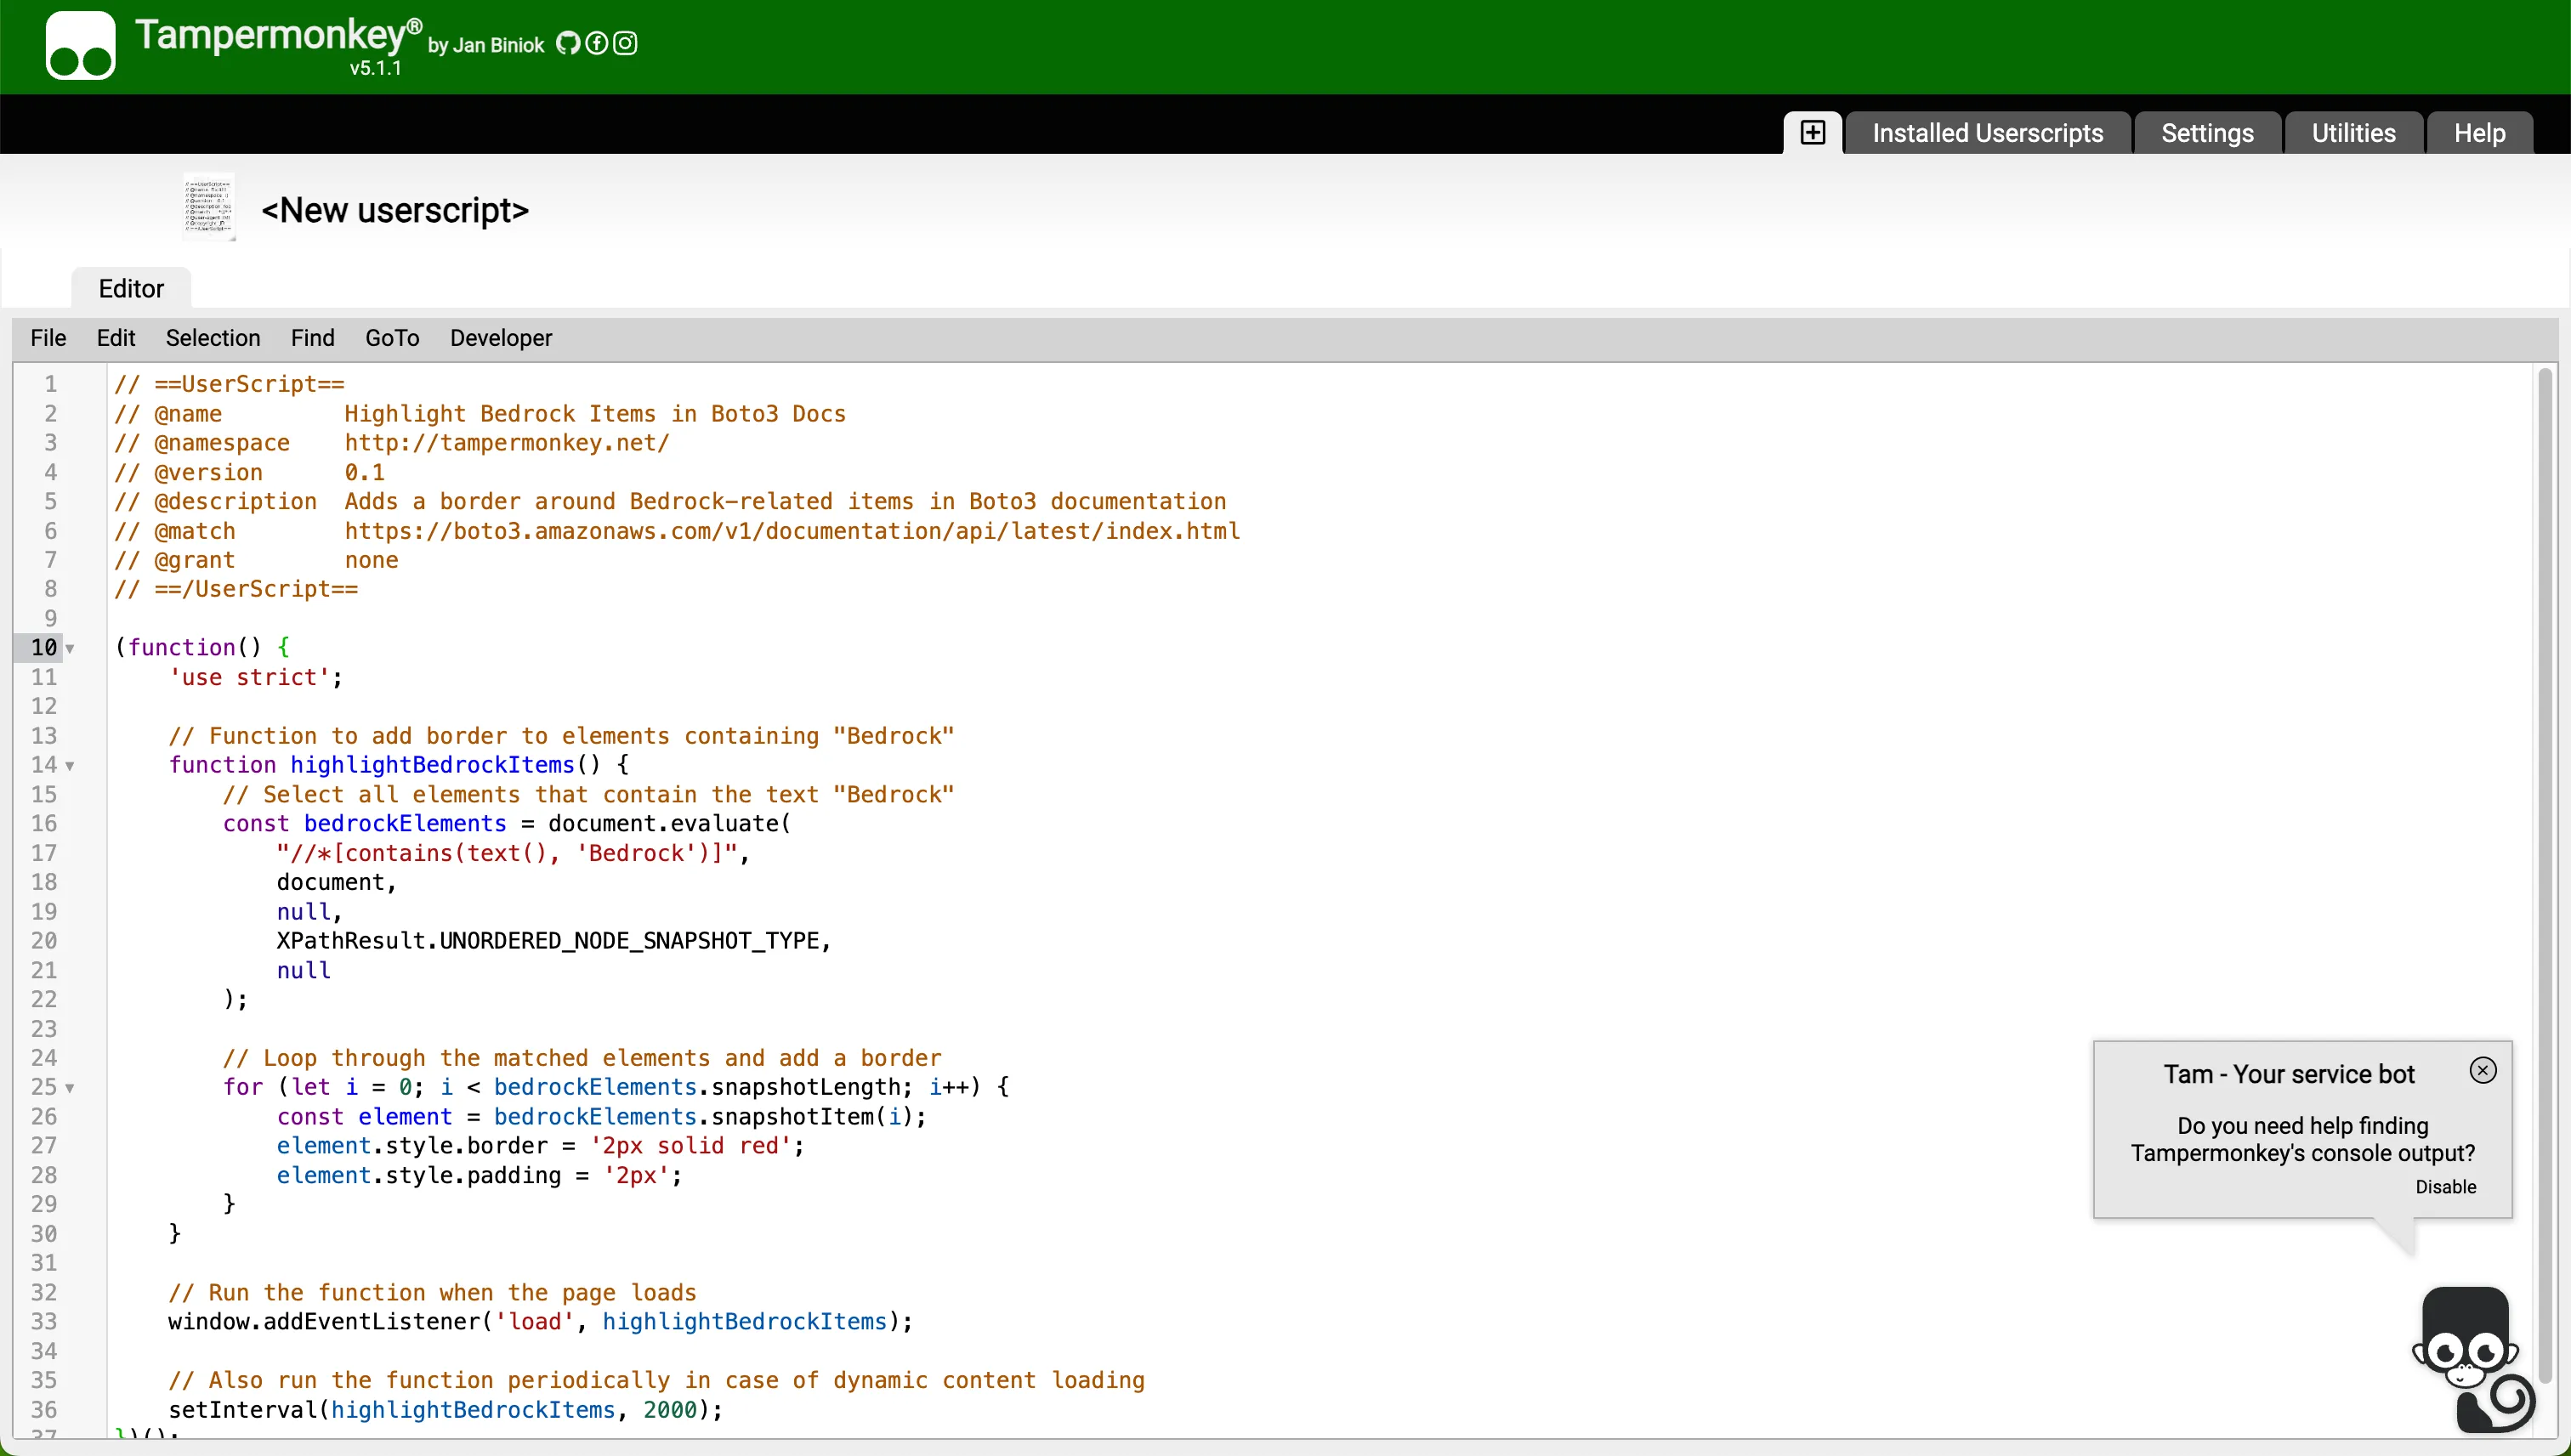
If you don't see the desired changes, iterate on your prompt or ask Amazon Q Developer to review and modify the code directly in your IDE.
My killer app: Markdown upload for community.aws
As a demonstration of this technique's power, I've created a plugin that enables Markdown uploads when submitting posts to community.aws. You can use your AWS Builder ID to log in and start sharing articles about your projects!
Note: As much as I would love to, this code is not supported, so use, tinker and have fun!
1
2
3
4
5
6
7
8
9
10
11
12
13
14
15
16
17
18
19
20
21
22
23
24
25
26
27
28
29
30
31
32
33
34
35
36
37
38
39
40
41
42
43
44
45
46
47
48
49
50
51
52
53
54
55
56
57
58
59
60
61
62
63
64
65
66
67
68
69
70
71
72
73
74
75
76
77
78
79
80
81
82
83
84
85
86
87
88
89
90
91
92
93
94
95
96
97
98
99
100
101
102
103
104
105
106
107
108
109
110
111
112
113
114
115
116
117
118
119
120
121
122
123
124
125
126
127
128
129
130
131
132
133
134
135
136
137
138
139
140
141
142
143
144
145
146
147
148
149
150
151
152
153
154
155
156
157
158
159
160
161
162
163
164
165
166
167
168
169
170
171
172
173
174
175
176
177
178
179
180
181
182
183
184
185
186
187
188
189
// ==UserScript==
// @name         AWS Community Markdown Inserter (Fully Automated)
// @namespace    http://tampermonkey.net/
// @version      3.2
// @description  Insert Markdown content into AWS Community editor with automatic update and page refresh
// @match        https://community.aws/editor/posts/edit/*
// @grant        none
// ==/UserScript==

(function() {
    'use strict';

    let markdownToInsert = '';
    let lastKnownState = null;

    function debugLog(message, obj = null) {
        if (obj) {
            console.log(`DEBUG: ${message}`, obj);
        } else {
            console.log(`DEBUG: ${message}`);
        }
    }

    function interceptGraphQLRequests() {
        const originalFetch = window.fetch;
        window.fetch = async function(...args) {
            const [resource, config] = args;

            if (resource === 'https://community.aws/api/graphql' && config && config.body) {
                const body = JSON.parse(config.body);

                if (body.query.includes('mutation UpdateArticleVersion')) {
                    debugLog('Intercepted UpdateArticleVersion mutation');

                    lastKnownState = body.variables.input;

                    if (markdownToInsert) {
                        const variables = body.variables;
                        if (variables && variables.input && variables.input.mdx) {
                            variables.input.mdx += '\n\n' + markdownToInsert;
                            debugLog('Modified mdx content', variables.input.mdx);

                            markdownToInsert = '';
                        }
                    }

                    config.body = JSON.stringify(body);
                }
            }

            return originalFetch.apply(this, args);
        };
        debugLog('GraphQL interception set up');
    }

    function triggerUpdate() {
        if (lastKnownState) {
            debugLog('Triggering update with last known state');
            const mutation = `
                mutation UpdateArticleVersion($input: ArticleVersionUpdateRequest!) {
                    updateArticleVersion(input: $input) {
                        uri
                        versionId
                        mdx
                    }
                }
            `;

            const variables = {
                input: {
                    ...lastKnownState,
                    mdx: lastKnownState.mdx + '\n\n' + markdownToInsert
                }
            };

            fetch('https://community.aws/api/graphql', {
                method: 'POST',
                headers: {
                    'Content-Type': 'application/json',
                    'Authorization': `Bearer ${getAuthToken()}`,
                },
                body: JSON.stringify({
                    query: mutation,
                    variables: variables
                })
            })
            .then(response => response.json())
            .then(result => {
                debugLog('Update triggered successfully', result);
                markdownToInsert = '';
                // Refresh the page after a short delay
                setTimeout(() => {
                    debugLog('Refreshing page...');
                    window.location.reload();
                }, 1000);
            })
            .catch(error => {
                debugLog('Error triggering update', error);
                alert('Failed to update. Please check the console for more information.');
            });
        } else {
            debugLog('No known state to trigger update');
            alert('Unable to update. Please make a small edit in the editor first.');
        }
    }

    function getAuthToken() {
        return document.cookie.split('; ').find(row => row.startsWith('awsd2c-token-c=')).split('=')[1];
    }

    function addFloatingMarkdownButton() {
        const button = document.createElement('button');
        button.textContent = 'Insert Markdown (Auto)';
        button.style.position = 'fixed';
        button.style.bottom = '20px';
        button.style.right = '20px';
        button.style.zIndex = '9999';
        button.style.padding = '10px 20px';
        button.style.fontSize = '16px';
        button.style.fontWeight = 'bold';
        button.style.backgroundColor = '#232f3e';
        button.style.color = 'white';
        button.style.border = 'none';
        button.style.borderRadius = '5px';
        button.style.cursor = 'pointer';
        button.style.boxShadow = '0 2px 5px rgba(0,0,0,0.2)';

        button.addEventListener('click', function() {
            debugLog('Insert button clicked');

            const textarea = document.createElement('textarea');
            textarea.rows = 10;
            textarea.cols = 50;
            textarea.style.padding = '10px';
            textarea.style.marginBottom = '10px';
            textarea.style.color = 'black';
            textarea.style.border = '1px solid #ccc';
            textarea.style.fontSize = '14px';

            const submitButton = document.createElement('button');
            submitButton.textContent = 'Insert';
            submitButton.style.padding = '5px 10px';
            submitButton.style.backgroundColor = '#232f3e';
            submitButton.style.color = 'white';
            submitButton.style.border = 'none';
            submitButton.style.borderRadius = '3px';
            submitButton.style.cursor = 'pointer';
            submitButton.style.fontSize = '14px';

            const modal = document.createElement('div');
            modal.style.position = 'fixed';
            modal.style.top = '50%';
            modal.style.left = '50%';
            modal.style.transform = 'translate(-50%, -50%)';
            modal.style.backgroundColor = 'white';
            modal.style.padding = '20px';
            modal.style.borderRadius = '5px';
            modal.style.boxShadow = '0 2px 10px rgba(0,0,0,0.2)';
            modal.style.zIndex = '10000';

            modal.appendChild(textarea);
            modal.appendChild(submitButton);

            document.body.appendChild(modal);

            textarea.focus();

            submitButton.addEventListener('click', function() {
                const markdown = textarea.value;
                if (markdown) {
                    markdownToInsert = markdown;
                    debugLog('Markdown ready to be inserted', markdownToInsert);
                    document.body.removeChild(modal);
                    triggerUpdate();
                }
            });
        });

        document.body.appendChild(button);
        debugLog('Insert button added to page');
    }

    // Set up GraphQL interception
    interceptGraphQLRequests();

    // Add the button
    addFloatingMarkdownButton();
    debugLog('Script initialized');
})();
Conclusion
While this method of website modification can be brittle and may break if the target site changes, it offers a fun and powerful way to customize your web experience. With Amazon Q Developer and Tampermonkey at your fingertips, you have the tools to revolutionize how you interact with the web.
Start your journey into AI-powered browser customization today. Who knows? Your next script could be the one that transforms the way you or others use the internet. Happy scripting!
Add a comment below, what website are you going to modify? :)
Enjoyed reading this content? Let the author know!
Your likes, comments, shares, and saves help creators reach more builders.

Loading recommendations
Loading article