
Deploy a Java Application on Linux
As a cloud engineer you will deploy a variety of applications on different types of servers in the cloud. Learn how to deploy a SpringBoot Java application on a AWS Lightsail Linux VPS.


The previous tutorial demonstrated how to create a Windows Server VPS and deploy an ASP.NET Core application. A common and similar task is deploying a Java application on a Linux server. While Javascript frameworks such as Express.js have increased in popularity for applications in the cloud, Java frameworks such as SpringBoot are equally popular in enterprise environments.
This tutorial demonstrates how to deploy a Java application on a Linux Virtual Private Server (VPS) with AWS Lightsail. If you’re unfamiliar with AWS Lightsail check out the overview in the previous tutorial . We’ll use the previous DevOps scenario where the software is compiled by a CI/CD and stored in an S3 bucket. You copy the software or artifact from AWS S3 bucket or object store to deploy on a Linux VPS.
What you will learn
- How to deploy and configure a Linux server on AWS Lightsail.
- Configure and deploy a Java SpringBoot application with a launch script or User data.
- Configure the VPS network with a static IP and open a port for the Java application
About | |
|---|---|
✅ AWS Level | 200 - Intermediate |
⏱ Time to complete | 45 minutes |
💰 Cost to complete | Free when using the AWS Free Tier or USD 1.01 |
🧩 Prerequisites | - An AWS account: If you don't already have an account, follow the Setting Up Your Environment tutorial. For a quick overview for creating account follow the Create Your AWS Account instructions.
- AWS credentials: Follow the instructions in Access Your Security Credentials to get your AWS credentials
- A git client: Follow the instructions to Install Git for your operating system.
- Java installed locally.
- Maven installed locally.
- Java installed locally.
- Maven installed locally. |
💻 Code Sample | GitHub |
📢 Feedback | Any feedback, issues, or just a 👍 / 👎 ? |
⏰ Last Updated | 2023-05-31 |
Module 1: Clone and compile the application
Overview
The Java application for the tutorial is on Github. You will clone the repository (optional if you have completed this in a previous tutorial). The project uses Maven to compile and package the application into a
.jar file.Implementation
The application for this tutorial is on GitHub. Clone the application (optional if you have done this in a previous tutorial).
Bash
git clone https://github.com/build-on-aws/practical-cloud-guide-code
Compile the application to a .jar with maven.
Bash
cd ./practical-cloud-guide-code/run-to-build/linux-app-deploy/mvn package
Maven will compile the code, create a
target directory, and create a HelloBuilder.jar file.Module 2: Create an S3 bucket and upload files
Overview
In DevOps, applications are typically built with Continuous Integration (CI) software. Code is pushed into the CI by developers where it is built and tested and released into cloud storage.
What you will accomplish
In this module, the software is in a GitHub repository. You will clone the repository to copy the files to your local drive. The next step is to use Lightsail create an S3 bucket to store the files that can be accessed by a Linux Server deployed with AWS Lightsail.
Implementation Instructions
Steps 1-2 are optional if you completed the Deploy an ASP.NET Core Application on Windows Server with AWS Lightsail tutorial .
Step 1: Open the AWS Console and choose Lightsail
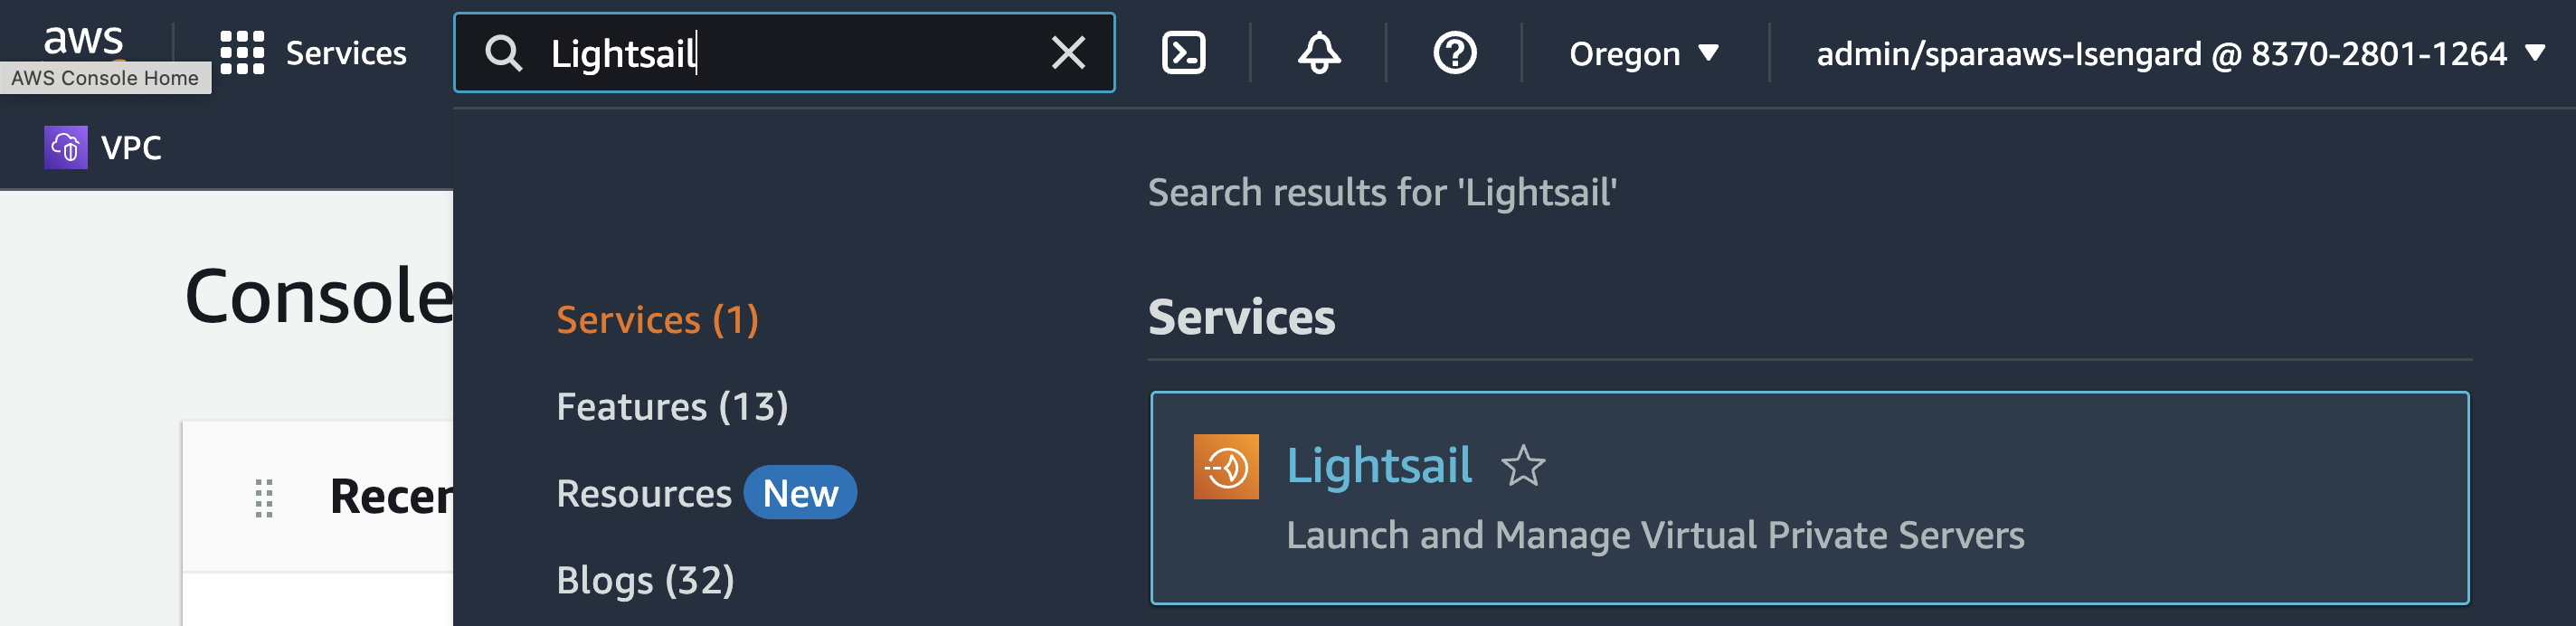
Step 2: Create an S3 bucket
Choose Storage.

In the Create a new bucket page choose the 5GB storage plan and name the bucket with a unique name such as
my-practical-cloud-guide . Please note that S3 bucket names are globally unique, so make sure to pick a name that is available. For the rest of this tutorial, when you see <my>-practical-cloud-guide for the S3 bucket name, please replace it with your bucket name. Select Create Bucket.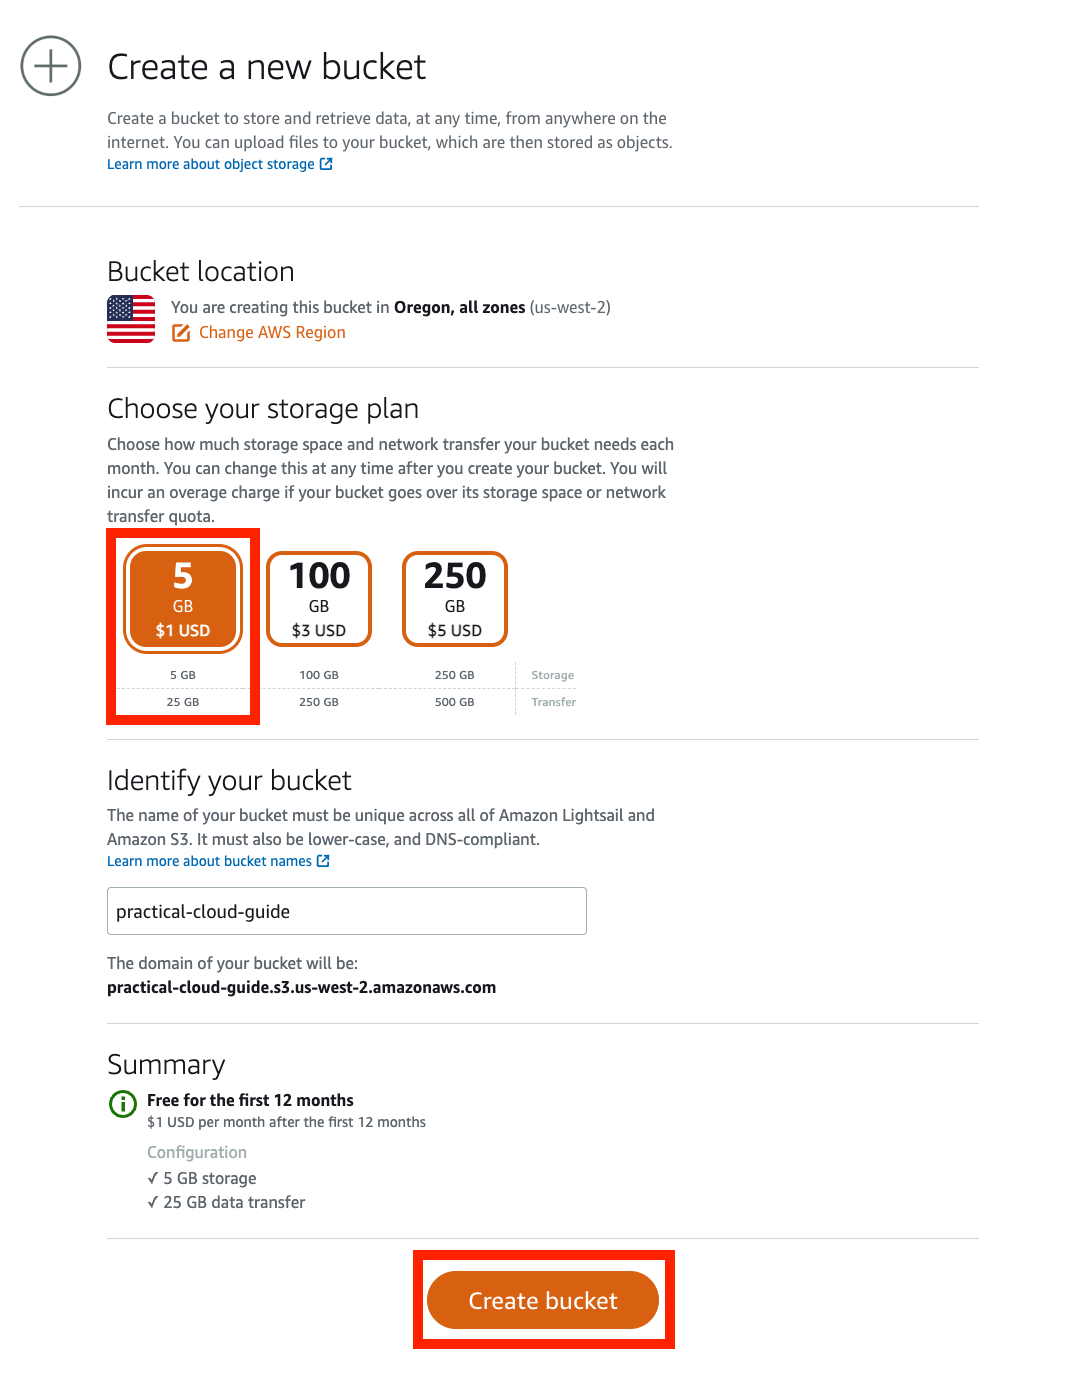
You will see a menu page for the
<my>-practical-cloud-guide bucket, choose Objects.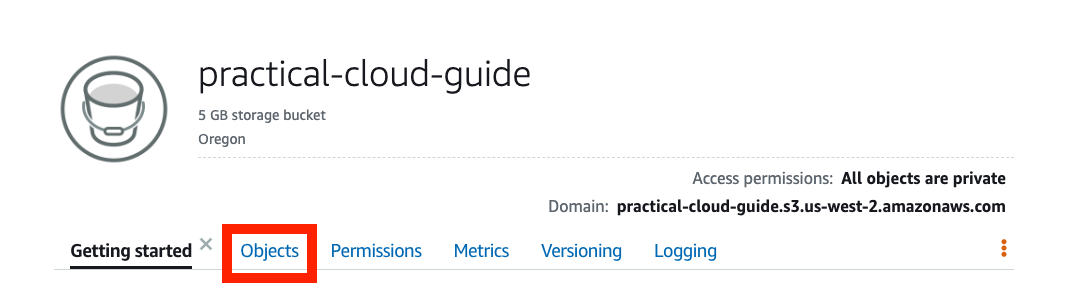
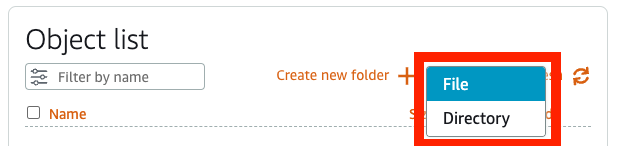
The Object list displays the objects in the bucket. Choose Upload to put the application and service file in the bucket.
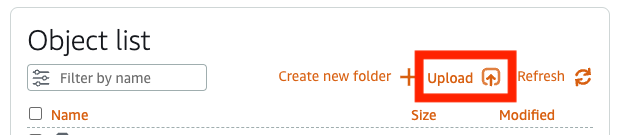
Choose File.
Select
HelloBuilder.jar from the ./practical-cloud-guide-code/run-to-build /linux-app-deploy/target/ and choose Open.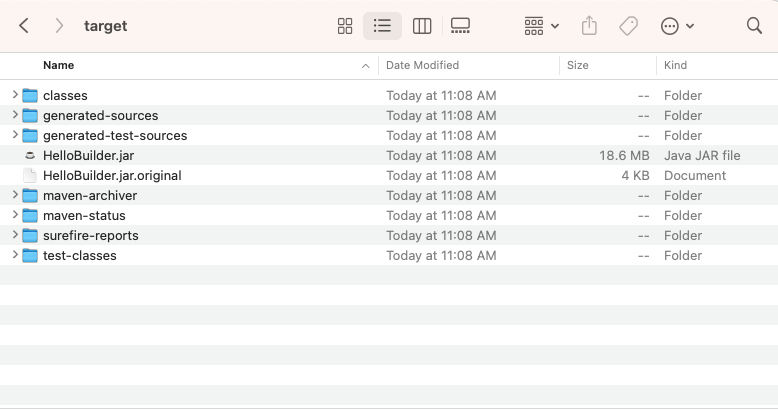
Upload the
hellobuilder.service file to your S3 bucket. This file congifures the application as a service and will restart the application after a reboot. Select the file and choose Open.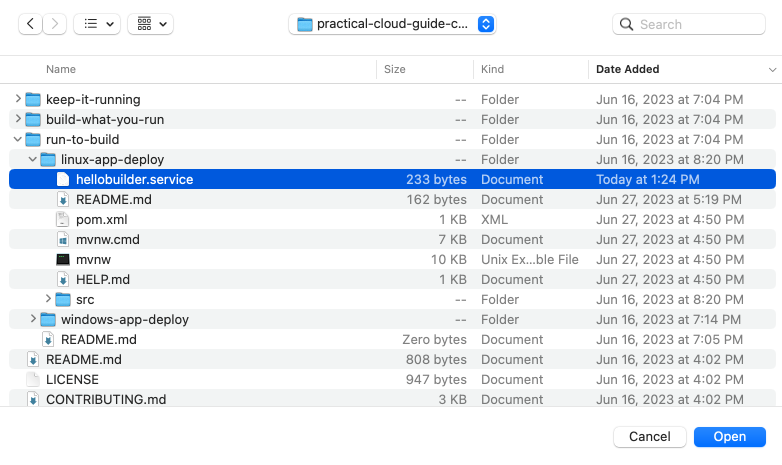
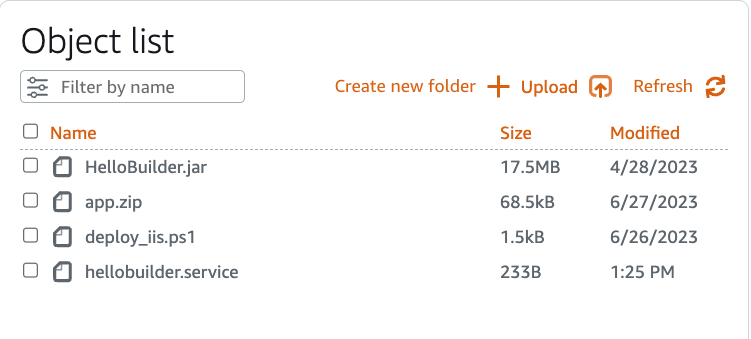
The files will be added to the Object list.
Module 3: Deploy an Amazon Linux Server
Overview
In this section, you will create an Amazon Linux server, install Java, and deploy a SpringBoot Java application with a script that runs when the instance is launched. Configuration and deployment are performed through the Lightsail console without logging into the Linux server. You will also use the Lightsail console to open a port for the application and attach a static IP address to the server.
What you will accomplish
You will use the AWS Lightsail console to instantiate an AWS Linux VPS and configure it using the User Data option when creating the Linux VPS.
Implementation instructions
Step 1: Deploy a VPS AWS Linux Server
Choose Create instance.

Step 2: Choose the instance image
- Select Linux/Unix for a platform.
- For a Blueprint, choose OS Only.
- Choose Amazon Linux 2

Step 3: Configure the VPS with a shell script
Choose Add launch script.
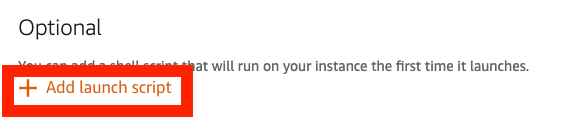
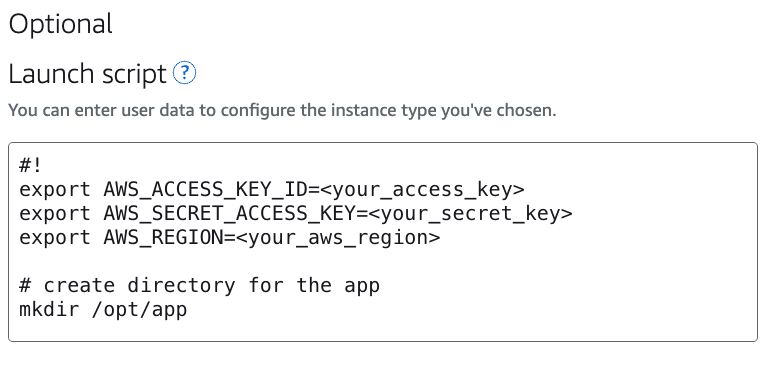
Configure an instance at launch by adding a shell script that runs when instance starts. The script exports your access key, secret key, and AWS region. These are temporary credentials only available at launch. The script needs your credentials to copy the SpringBoot application, HelloBuilder.jar, from your S3 bucket. Note that AWS CLI commands are available to use in the script. After the script copies the jar file, it installs Java, configures the application as a service, and starts the application.
To install the application as a service, use systemd , a Linux system and service manager. Use a service file to configure the service.
Plain text
[Unit]Description=Manage Java service[Service]WorkingDirectory=/opt/appExecStart=/bin/java -Xms128m -Xmx256m -jar HelloBuilder.jarUser=appadminType=simpleRestart=on-failureRestartSec=10[Install]WantedBy=multi-user.target
Copy the script add your credentials, AWS region, and the name of your S3 bucket.
Bash
#! /bin/bashexport AWS_ACCESS_KEY_ID=<your_access_key>export AWS_SECRET_ACCESS_KEY=<your_secret_key>export AWS_REGION=<your_aws_region># create directory for the appmkdir /opt/app# download application and system service fileaws s3 cp s3://my-practical-cloud-guide/hellobuilder.service /etc/systemd/system/hellobuilder.serviceaws s3 cp s3://my-practical-cloud-guide/HelloBuilder.jar /opt/app/HelloBuilder.jar# install javasudo yum -y install java-17-amazon-corretto-headless# add application admin group and usersudo groupadd -r appgrpsudo useradd -r -s /bin/false -g appgrp appadminsudo chown -R appgrp:appadmin /opt/app# load the service file and start the servicesudo systemctl daemon-reloadsudo systemctl start hellobuilder.service# restart service on bootsudo systemctl enable hellobuilder
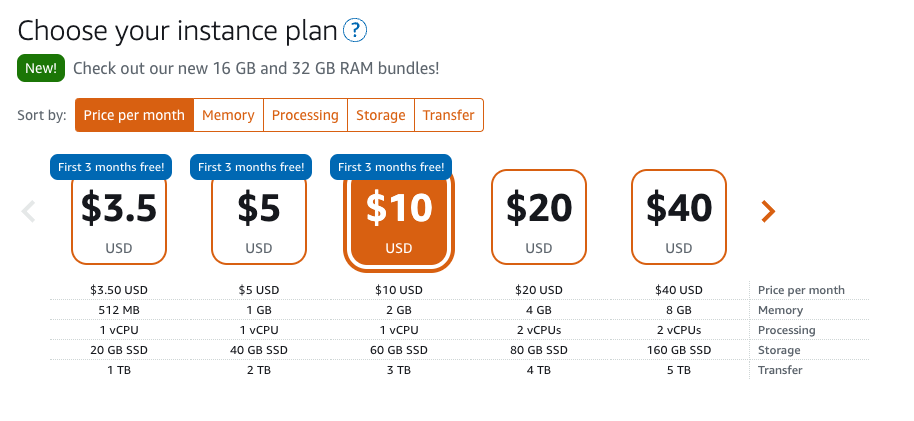
Choose your instance plan. The smallest instance works for this tutorial, but larger instances are more performant.
Name your instance, for example
Amazon_Linux_2_Java . Choose Create instance to instantiate the VPS.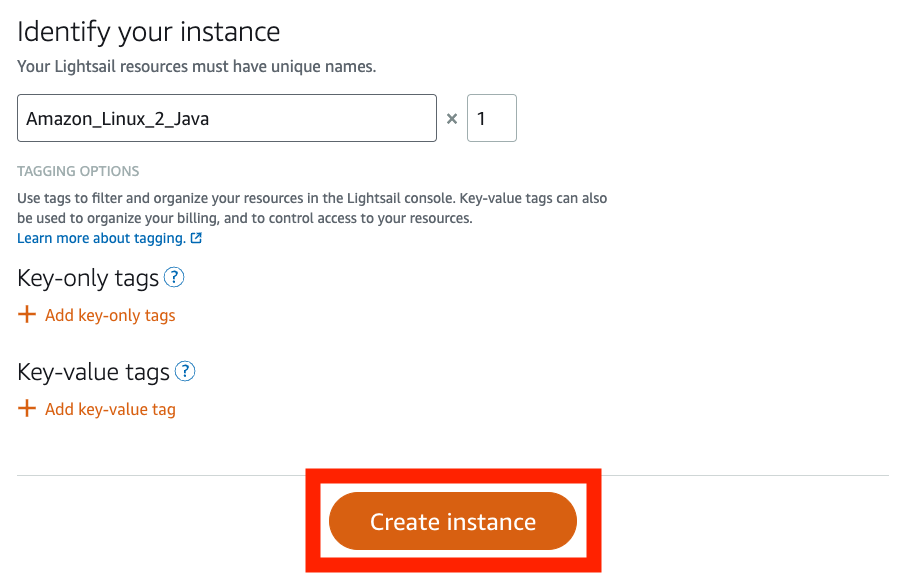
Module 4: Configure networking
The Lightsail Linux VPS includes both a private and public IP address. However, only
port 22 and port 80 are open by default. The Java application is running but available on port 8080. In this module, you will configure networking to open port 8080 and add a static IP address.Step 1: Open port 8080
Select the name of Linux VPS to open the menu for the instance.
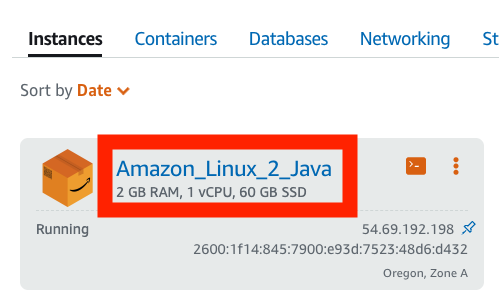
Choose Networking to open the networking menu.
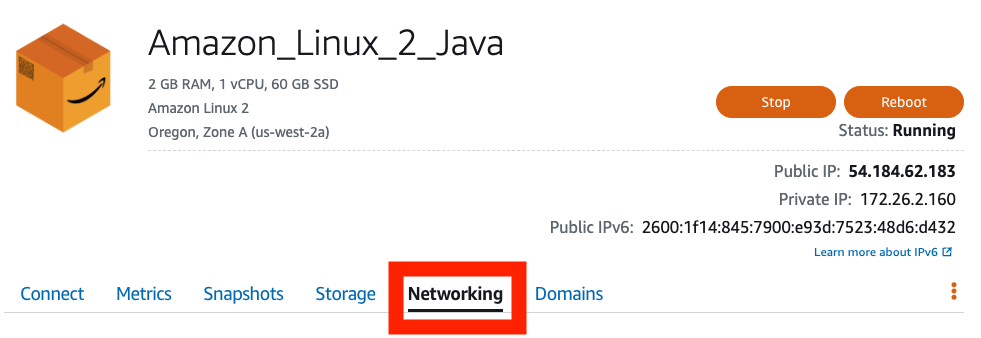
The VPC has a public and private IP and the IPV Firewall opens
port 22 and port 80 .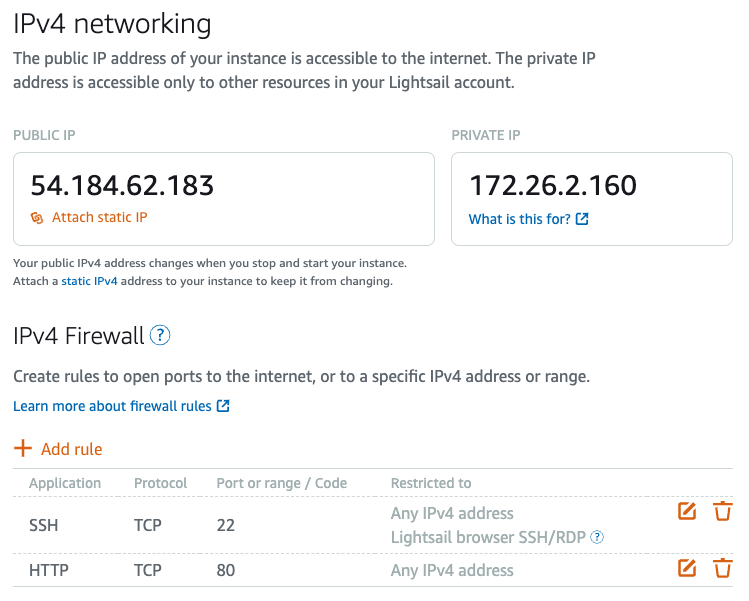
To open a port, select Add rule.
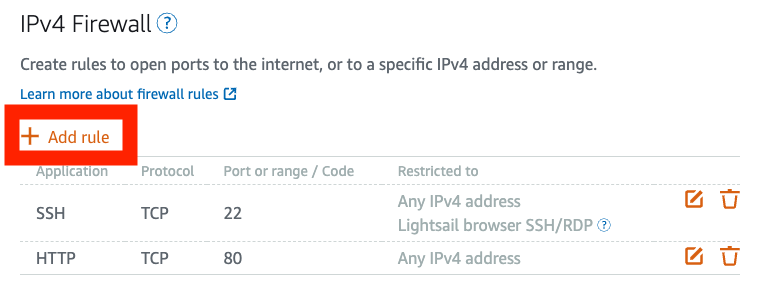
Choose Custom and add
8080 as a port. Select Create.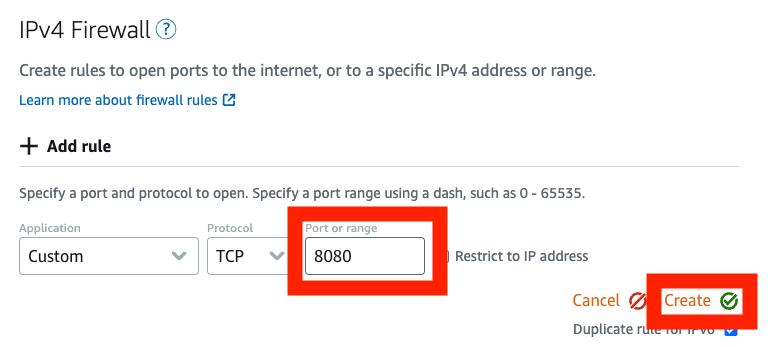
Port
8080 added to the firewall.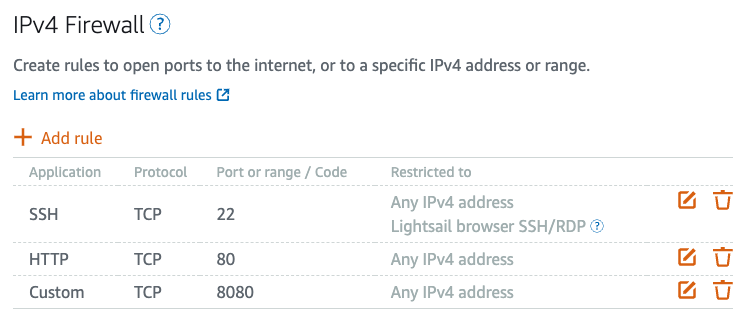
Step 2: Add a static IP
When a VPS is restarted, a new public IP address is assigned to the instance. You can assign a static IP address so that the application is available at the same address when restarted.
From the Lightsail Home menu, choose Networking.

Choose Create static IP.

Attach a static IP to and instance. Choose the VPS you created.
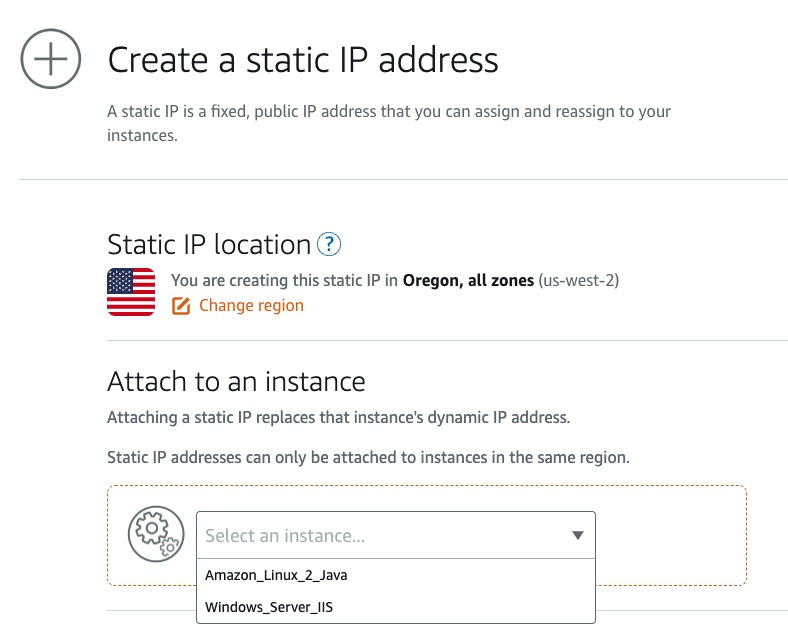
Give the static IP a unique name. Choose Create.
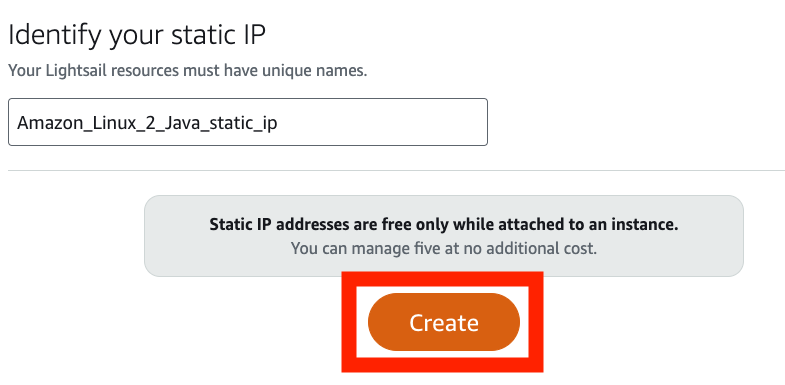
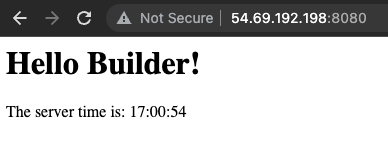
Open a browser to the static IP on port 80 and the Java application returns a page with a message the time.
Module 5: Clean up
To prevent additional costs, delete the Linux VPS created for the tutorial. Deleting the S3 bucket is optional. You can keep the S3 bucket to use with other tutorials.
Step 1: Delete the Amazon Linux server
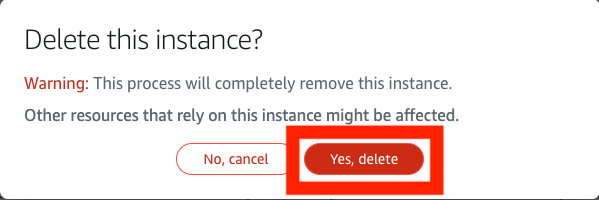
Choose Instances in the Lightsail menu and select the three red dots. Choose Delete.

Choose Yes, delete.
Step 2: Delete the S3 bucket (Optional)
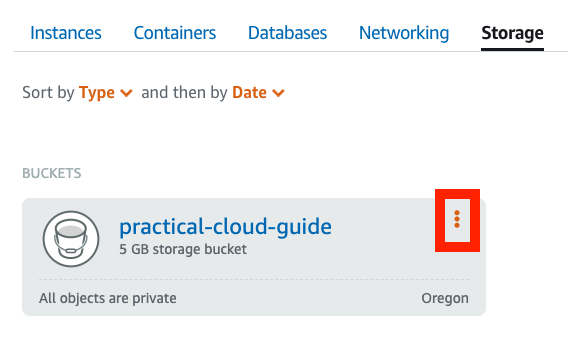
Choose Storage on the Lightsail menu. Select the three vertical dots.
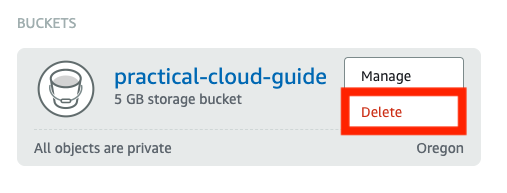
Choose Delete.
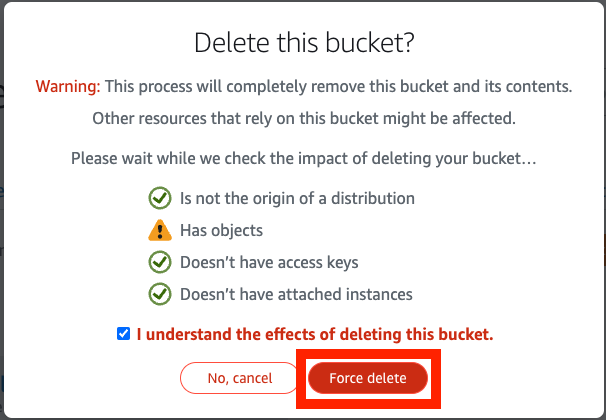
Choose Force Delete to delete the files and the S3 bucket.
What did you accomplish?
In this module you deployed a Linux VPS using Lightsail. The instance was configured by providing a script to download and install the jar file and a Java JDK to run the SpringBoot application. In a future tutorial, you will use the User Data feature to configure virtual machines or Amazon Elastic Cloud Compute (EC2) instances with a launch script. Note that your AWS credentials were only available at launch and not retained by the VPS.
Only ports 22 and 80 are open by default in a VPS. With Lightsail, you can open and close ports using the web console instead of manually configuring the network on the server. This is also true for adding a static IP address that ensures the application has a fixed IP address regardless if the instance has been restarted.
Deploying a VPS, either Windows or Linux. on AWS Lightsail reduces that amount of infrastructure configuration by providing the resources for a Virtual Private Cloud (VPC) including networking, storage, and even RDP or SSH sessions in the browser. However the key take away from these tutorials is that the cloud is programmable. You can use a Powershell script in the VPS or a shell script in User Data to use other cloud resources. For example, applications were downloaded from your S3 bucket. You can use the cloud’s Application Programming Interface (API) to build infrastructure that can be tested and replicated. The end goal of the Practical Cloud Guide is teach you how to build infrastructure by programming the cloud.
What’s next?
The next set of tutorials shows how to migrate and deploy a relational database in the cloud. For now. you will continue to use AWS Lightsail, but you will perform the database deployment and migration with the AWS Command Line Interface (CLI) instead of the web console. Learning how to use the CLI is the first step towards building infrastructure with code.
Enjoyed reading this content? Let the author know!
Your likes, comments, shares, and saves help creators reach more builders.

Loading recommendations
Loading article